When I interview designers, I want to understand how well they can explain their design decisions. For visual design, it's not enough to create an aesthetically modern design. I look for designers who critically think through the ✨ why ✨ of every decision they make.
Learning the why is hard! When things just "feel" right, it can be hard to put a reason behind your feeling. These are some exercises I do with our students to make explaining the why feel less intimidating.
👩⚖️ Defending your design work
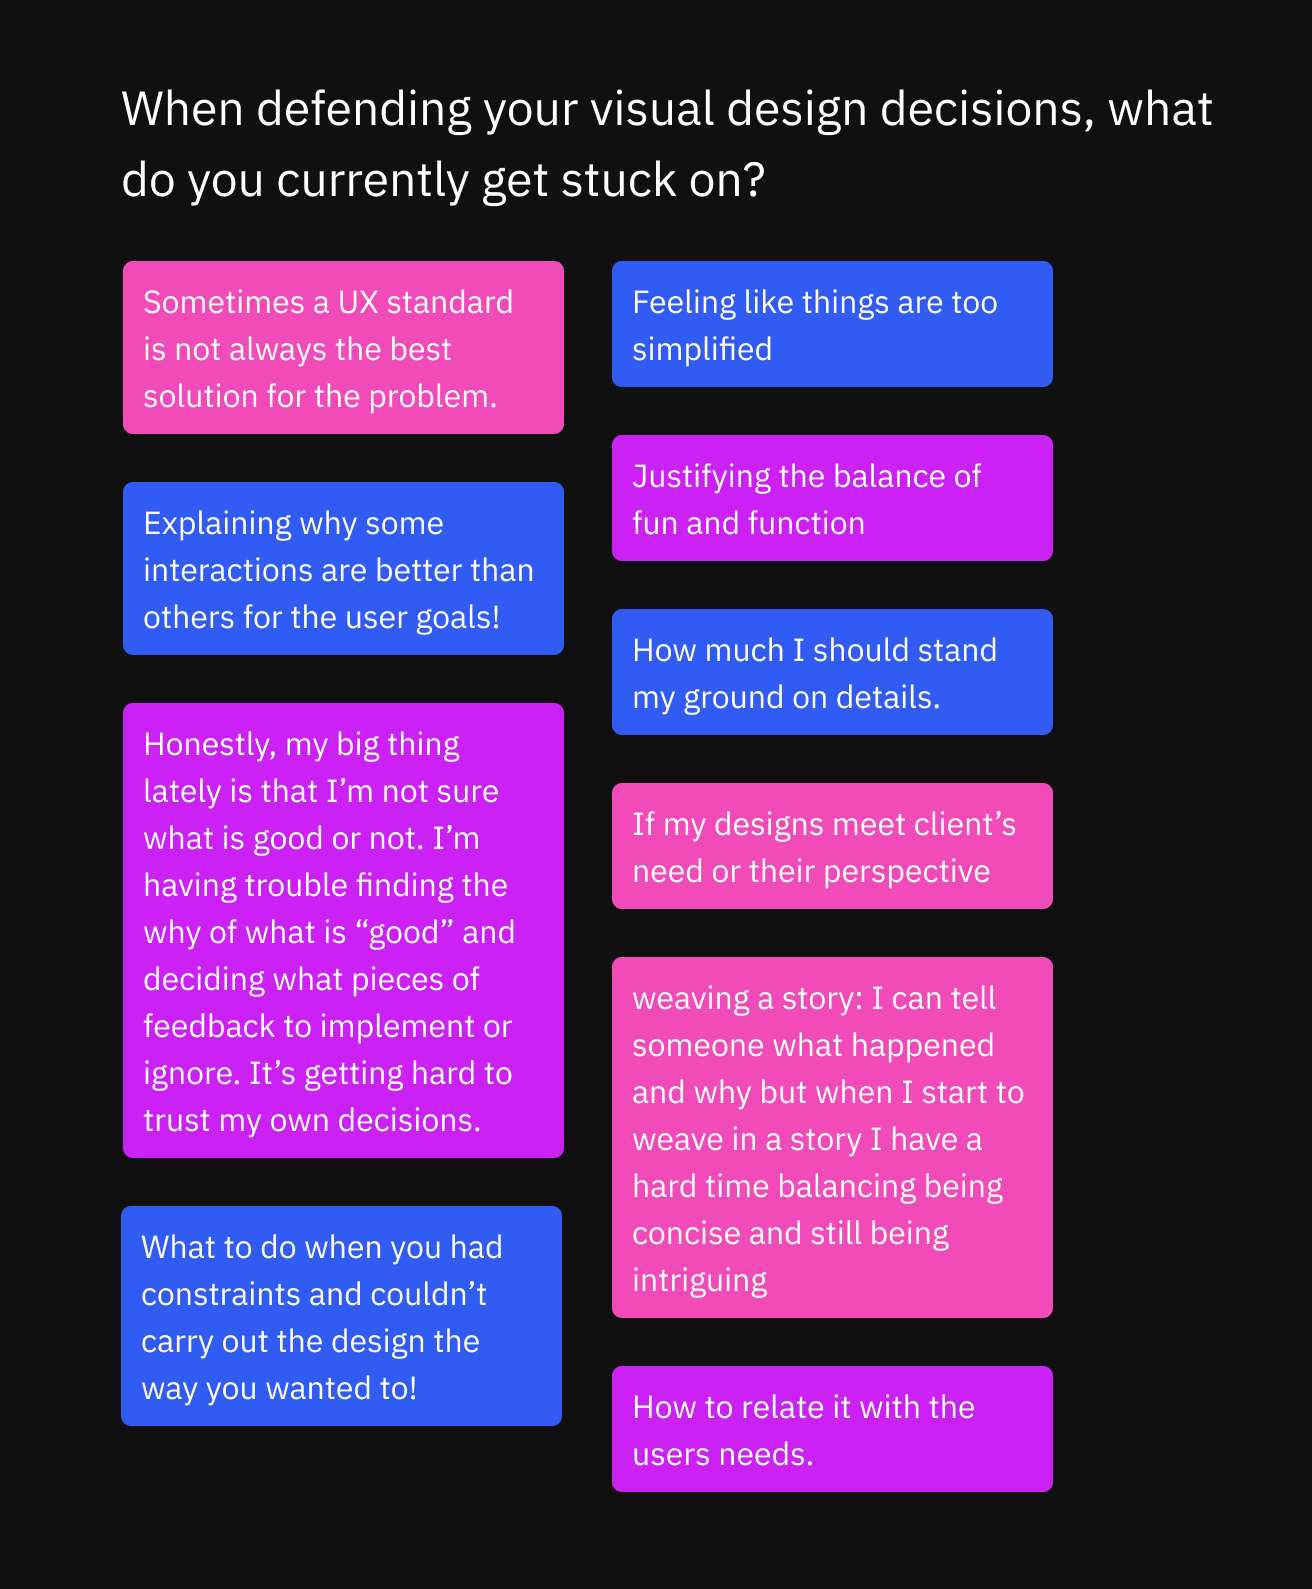
Recently, I taught a lesson called ✨ Defending your visual design work ✨. The goal of this lesson was to show that you can literally defend anything. You don't have to like a design to come up with a solid explanation for why it looks a certain way. To kick off the lesson, I had students reflect on why defending their work is difficult:
When I prepared for the class, I reflected on how I defend design decisions and broke my process into five steps.
- 🌟 Start with the problem.
- 🤔 Assess the visual brand.
- 💬 Explain the visual brand.
- 🤔 Assess the visual design principles.
- 💬 Explain the visual design principles.
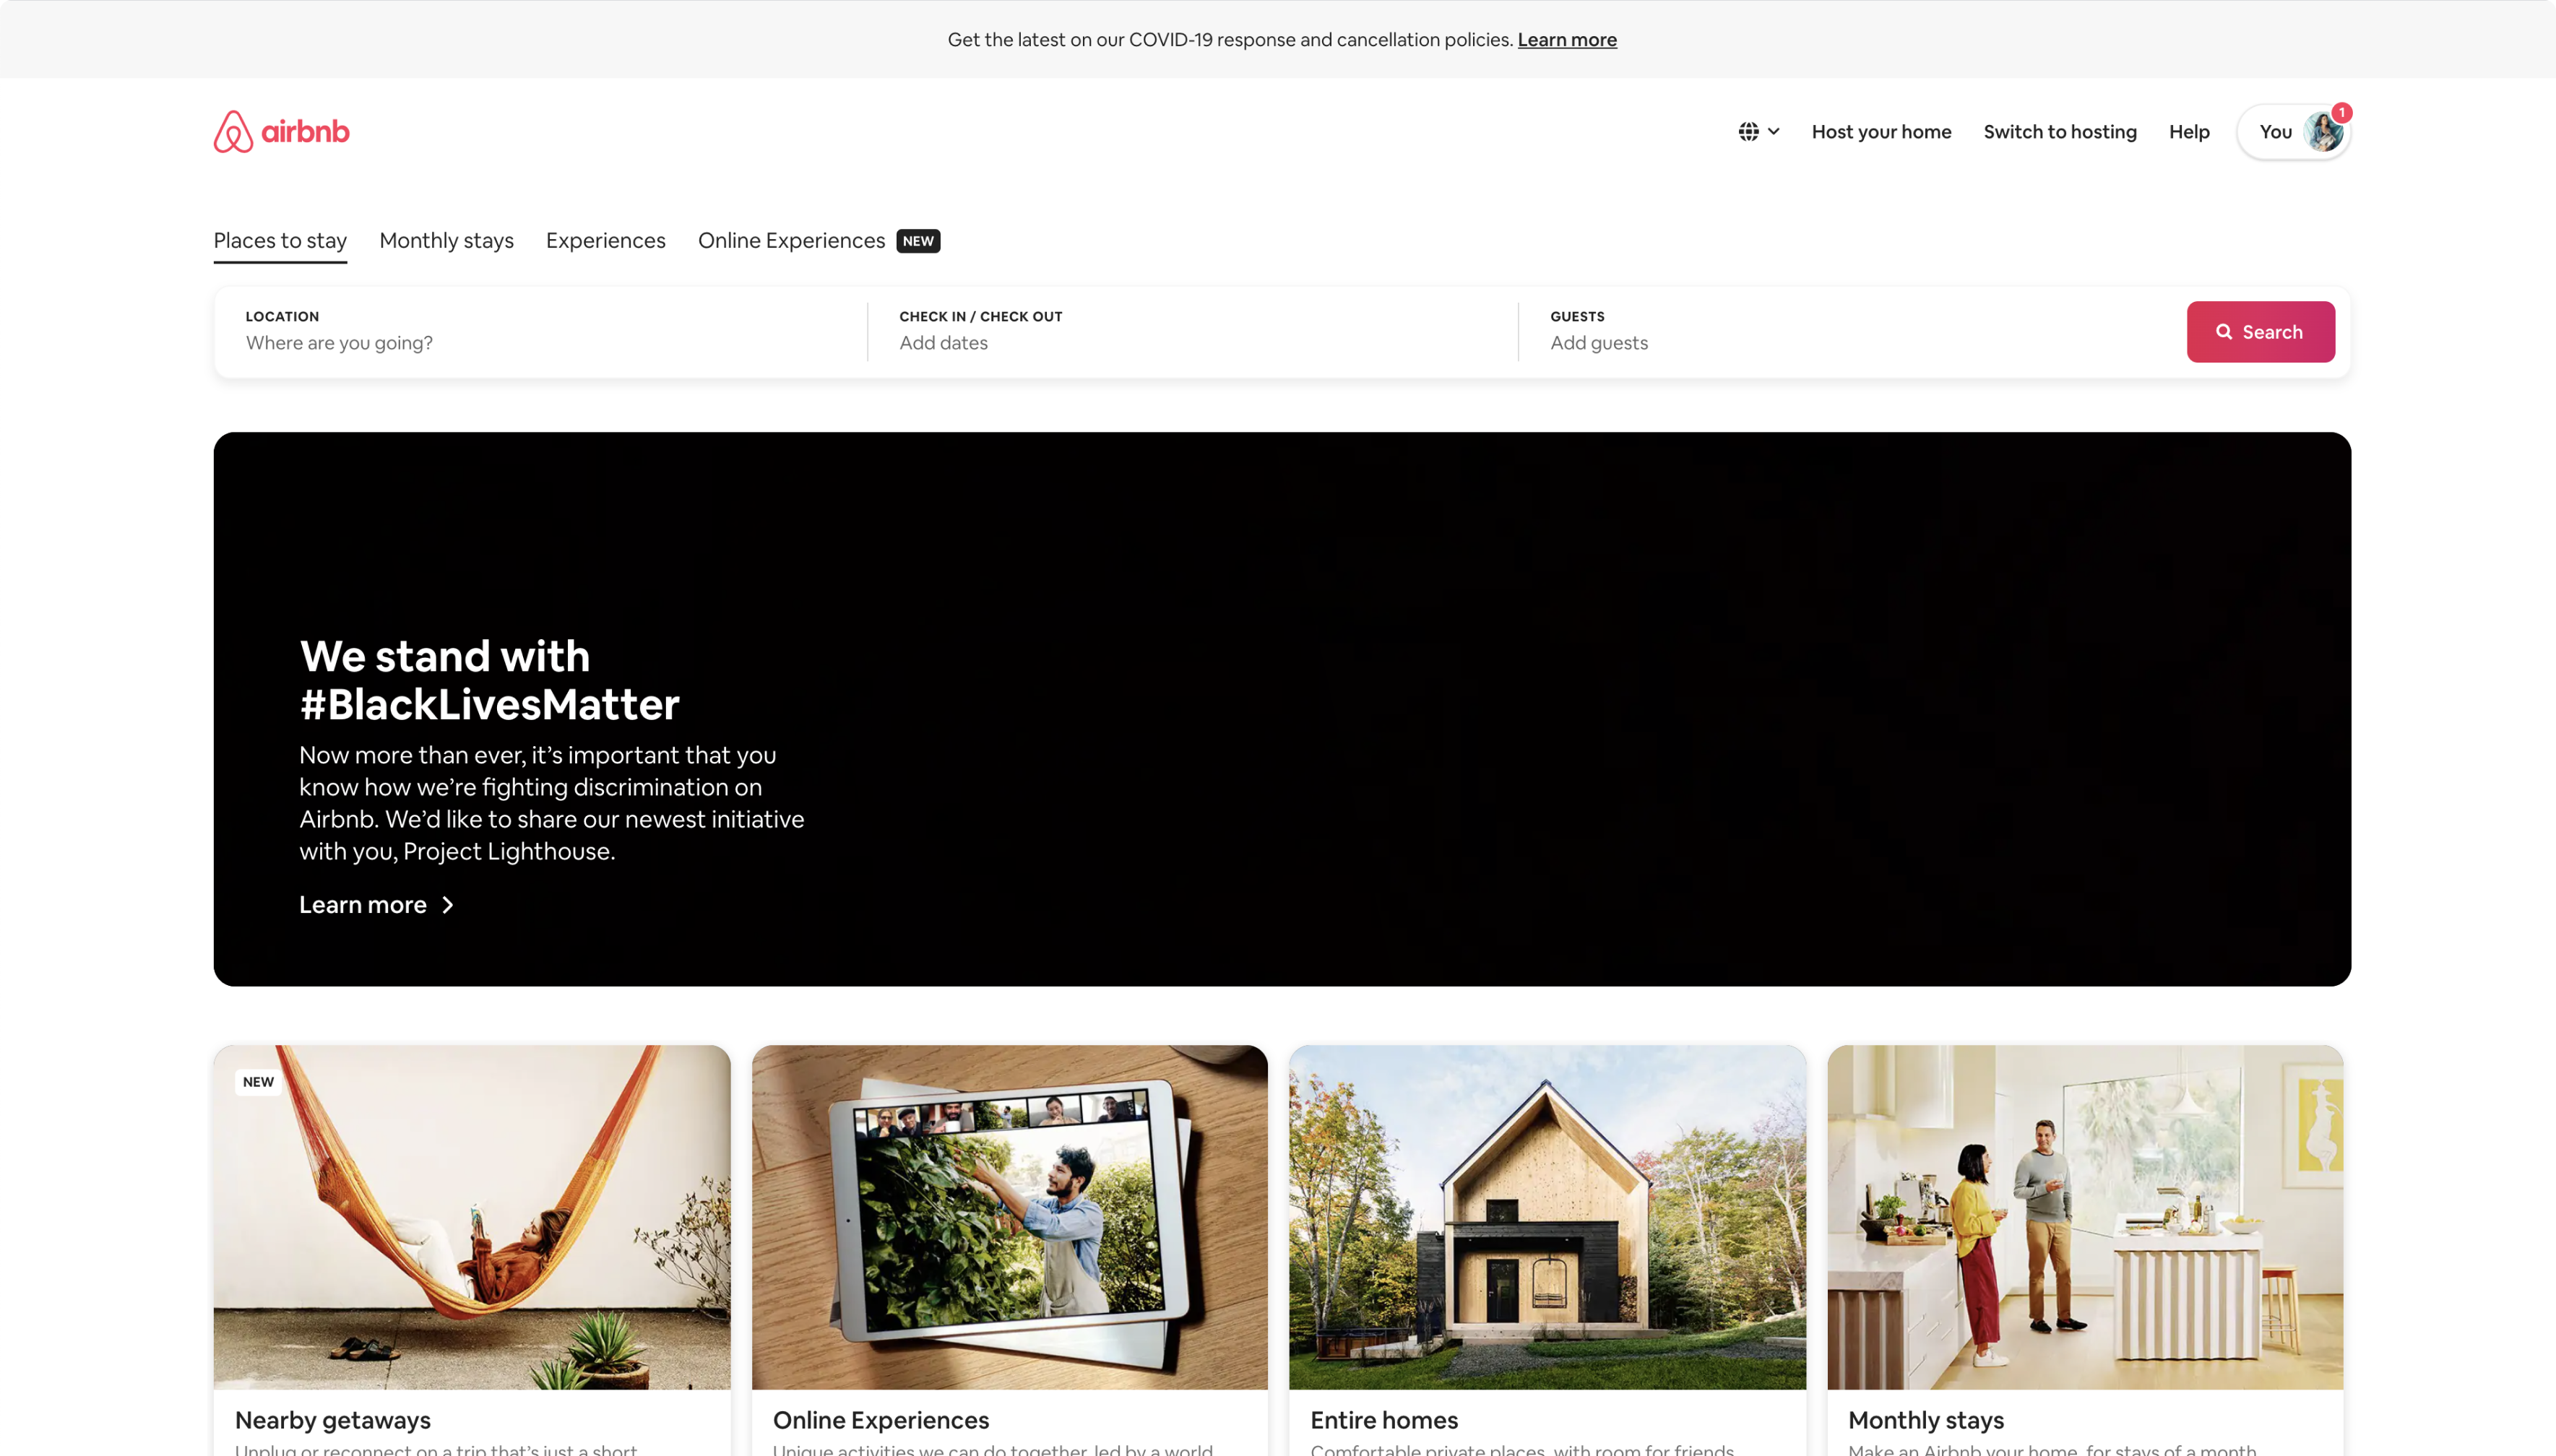
I was pretty nervous before I taught this class because I wasn't sure if this framework would be effective! In my opinion, the best way to learn how to defend your designs is to defend work that's not your own. If you can figure out how to think like another designer with little context, you'll be more than ready to reason through your own work. As a class, we walked through the five steps and analyzed the Airbnb landing page together.
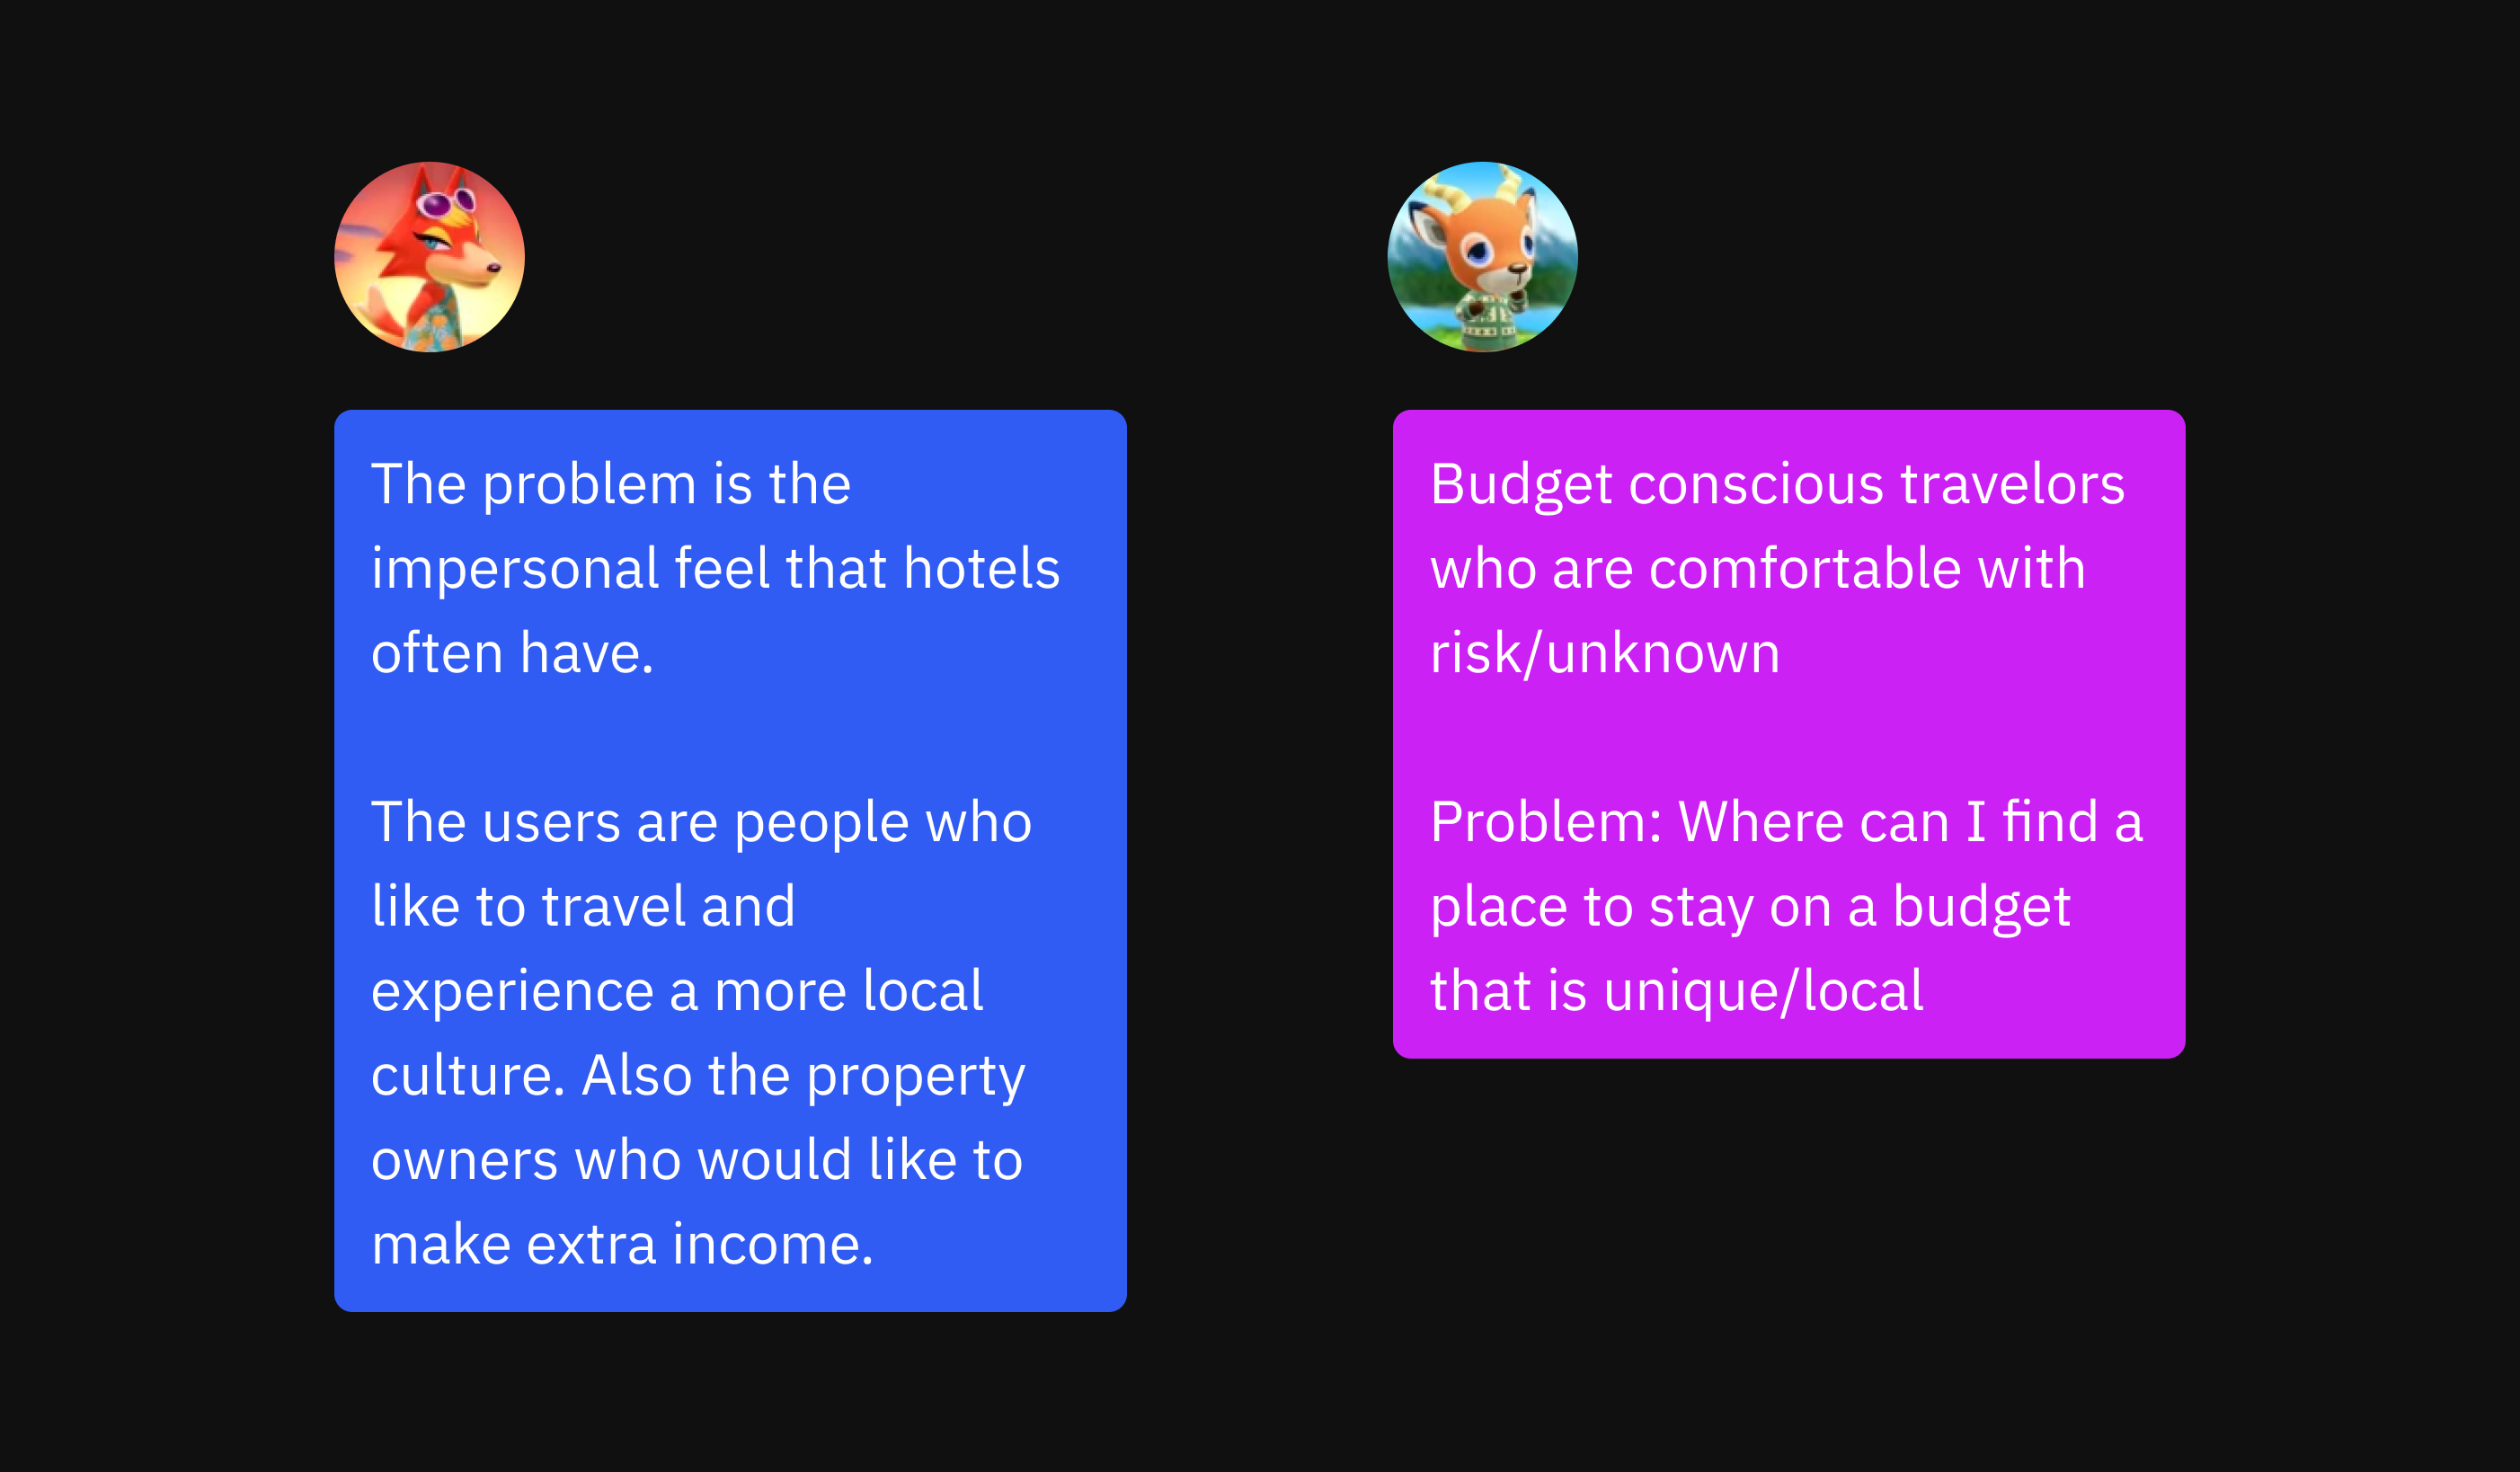
🌟 1. Start with the problem.
What problem is Airbnb addressing? Who are Airbnb's users? What are their goals? These responses are all from students during the lesson. (Just anonymized with Animal Crossing villagers 😆).
🤔 2. Assess the visual brand.
Describe what you see. What typefaces are they using? What details does this typeface have? Is it a serif or a sans serif? What color are they using? What does their imagery look like?
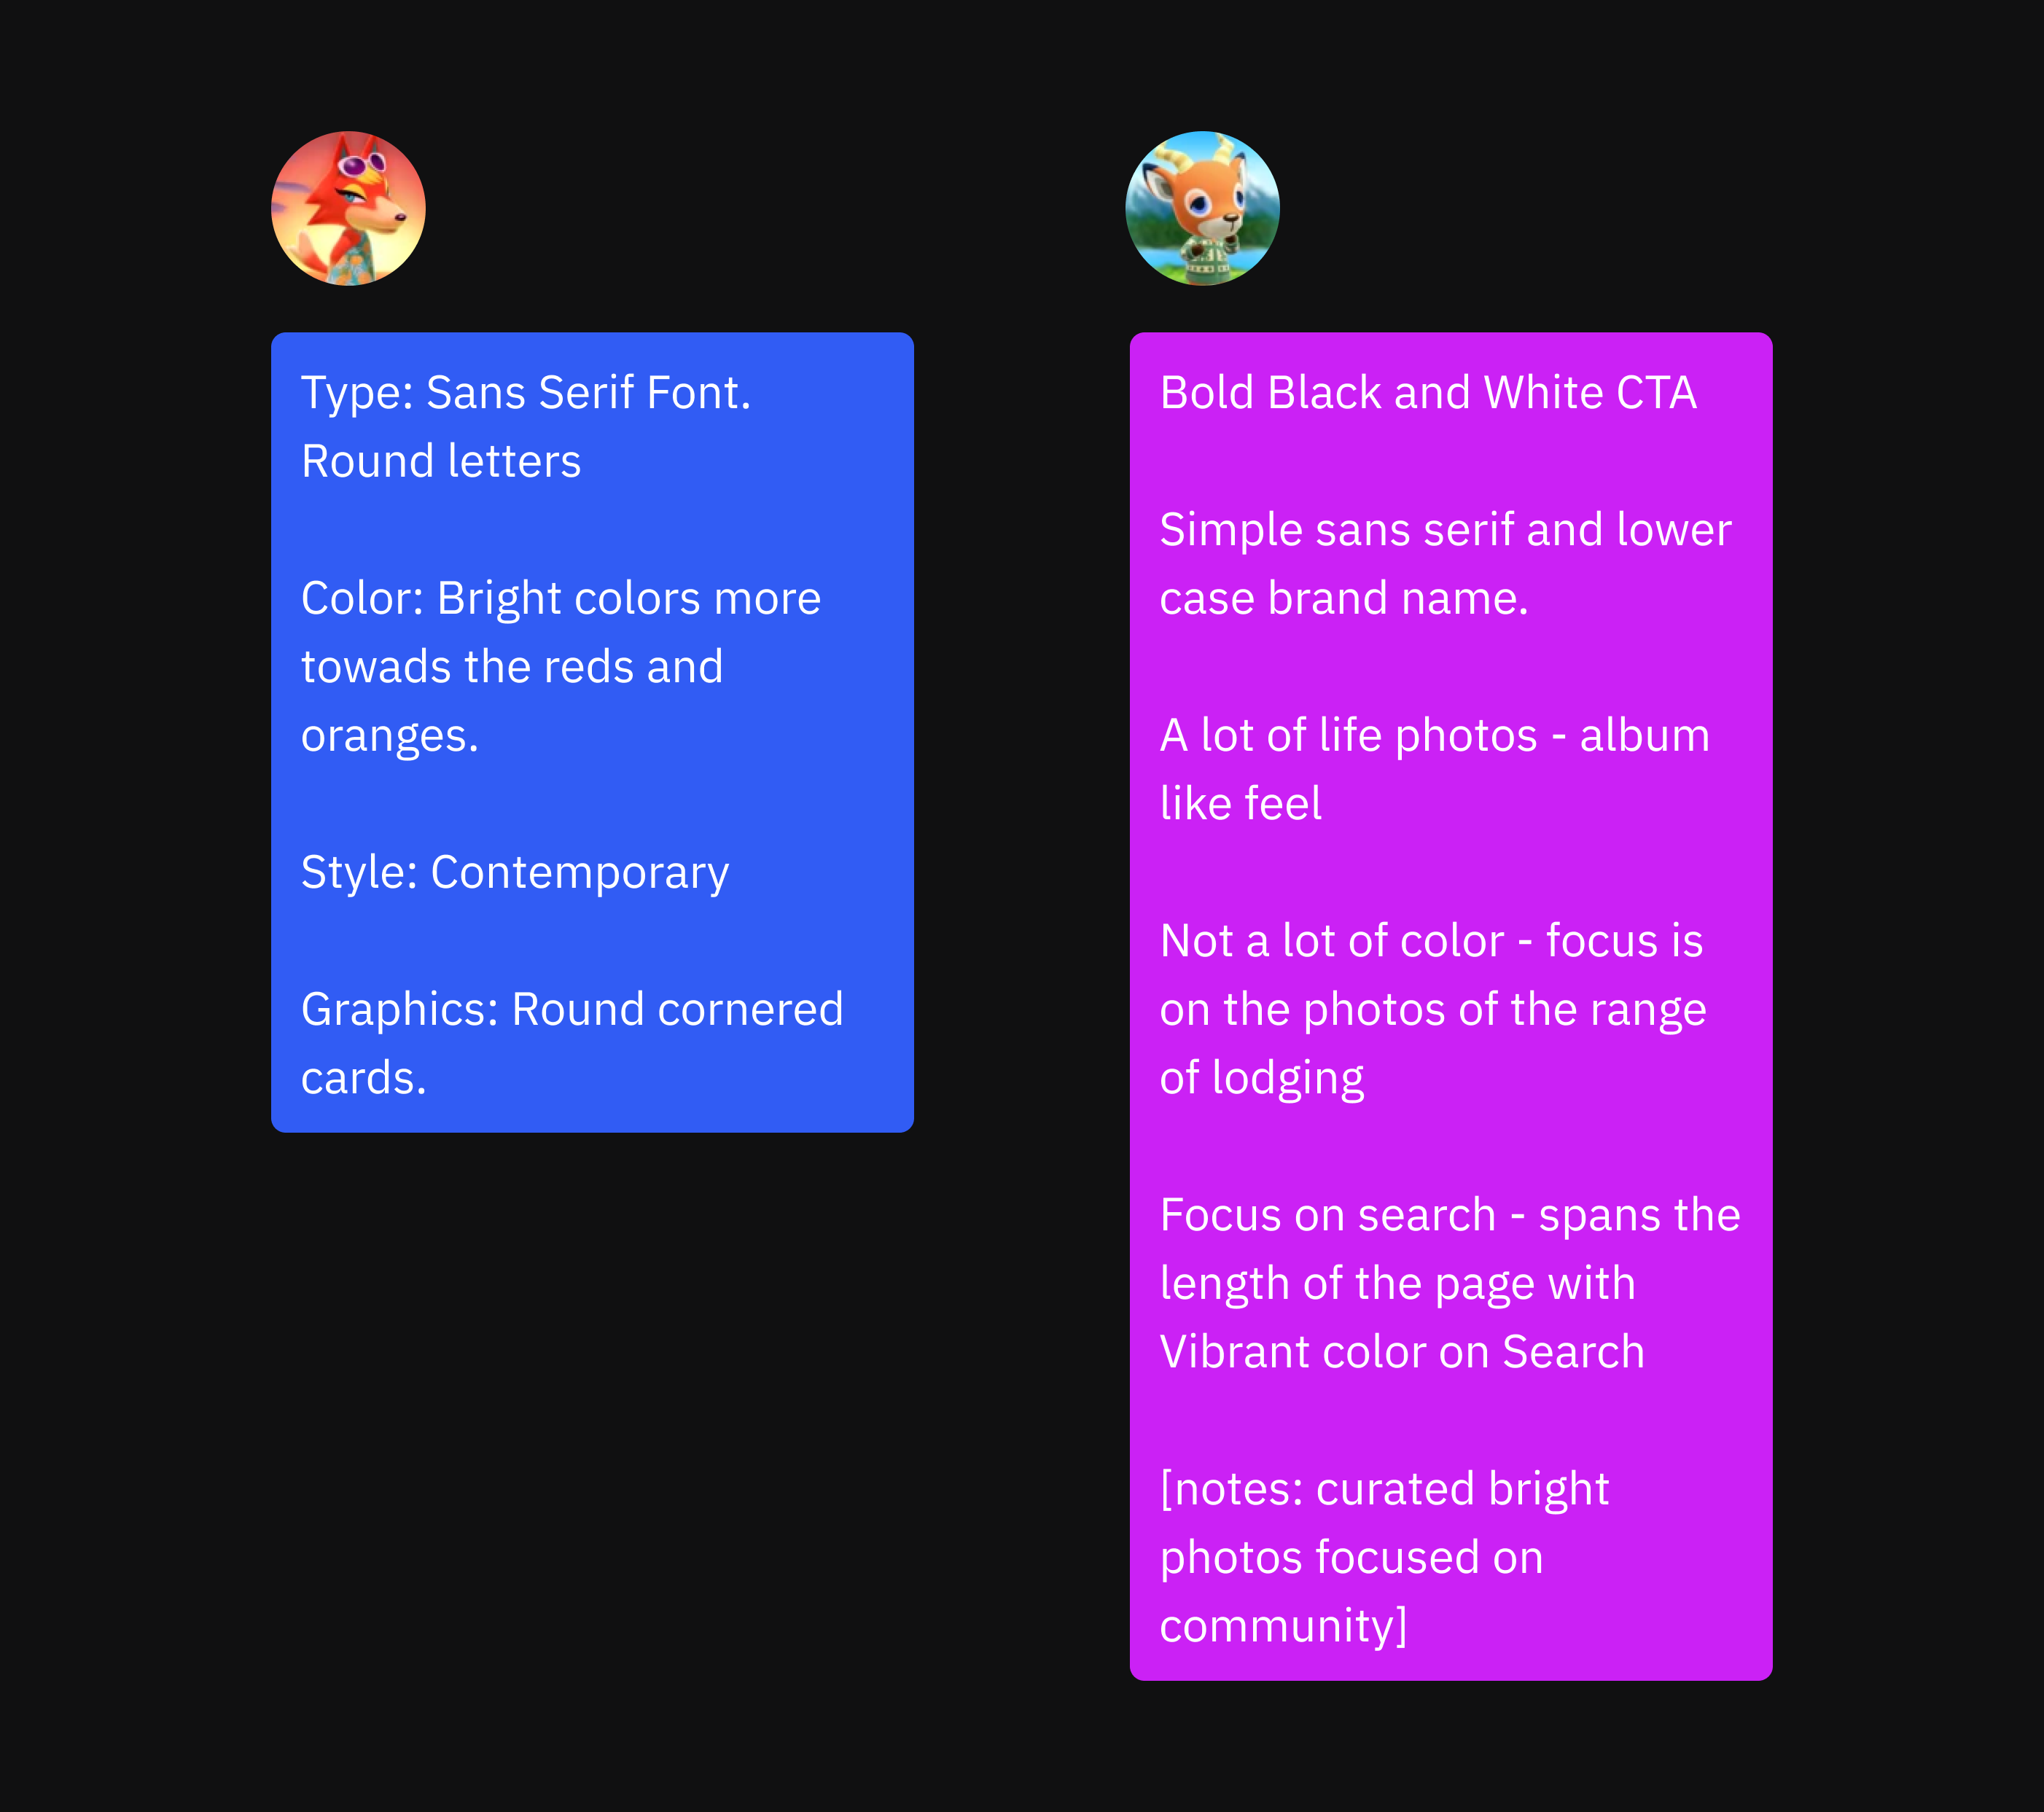
💬 3. Explain the visual brand.
Based on what you observed, what brand attributes do you think this product wants to communicate? How do typography, color, and graphic choices help communicate these choices? I love how students each interpreted what they saw in a different way!
🤔 4. Assess the visual design principles.
Think about the principles of contrast & hierarchy, repetition & consistency, and space & alignment. What stands out to you the most? Where do you see similar design patterns? Where are objects located on the page? How is spacing similar or different between elements?

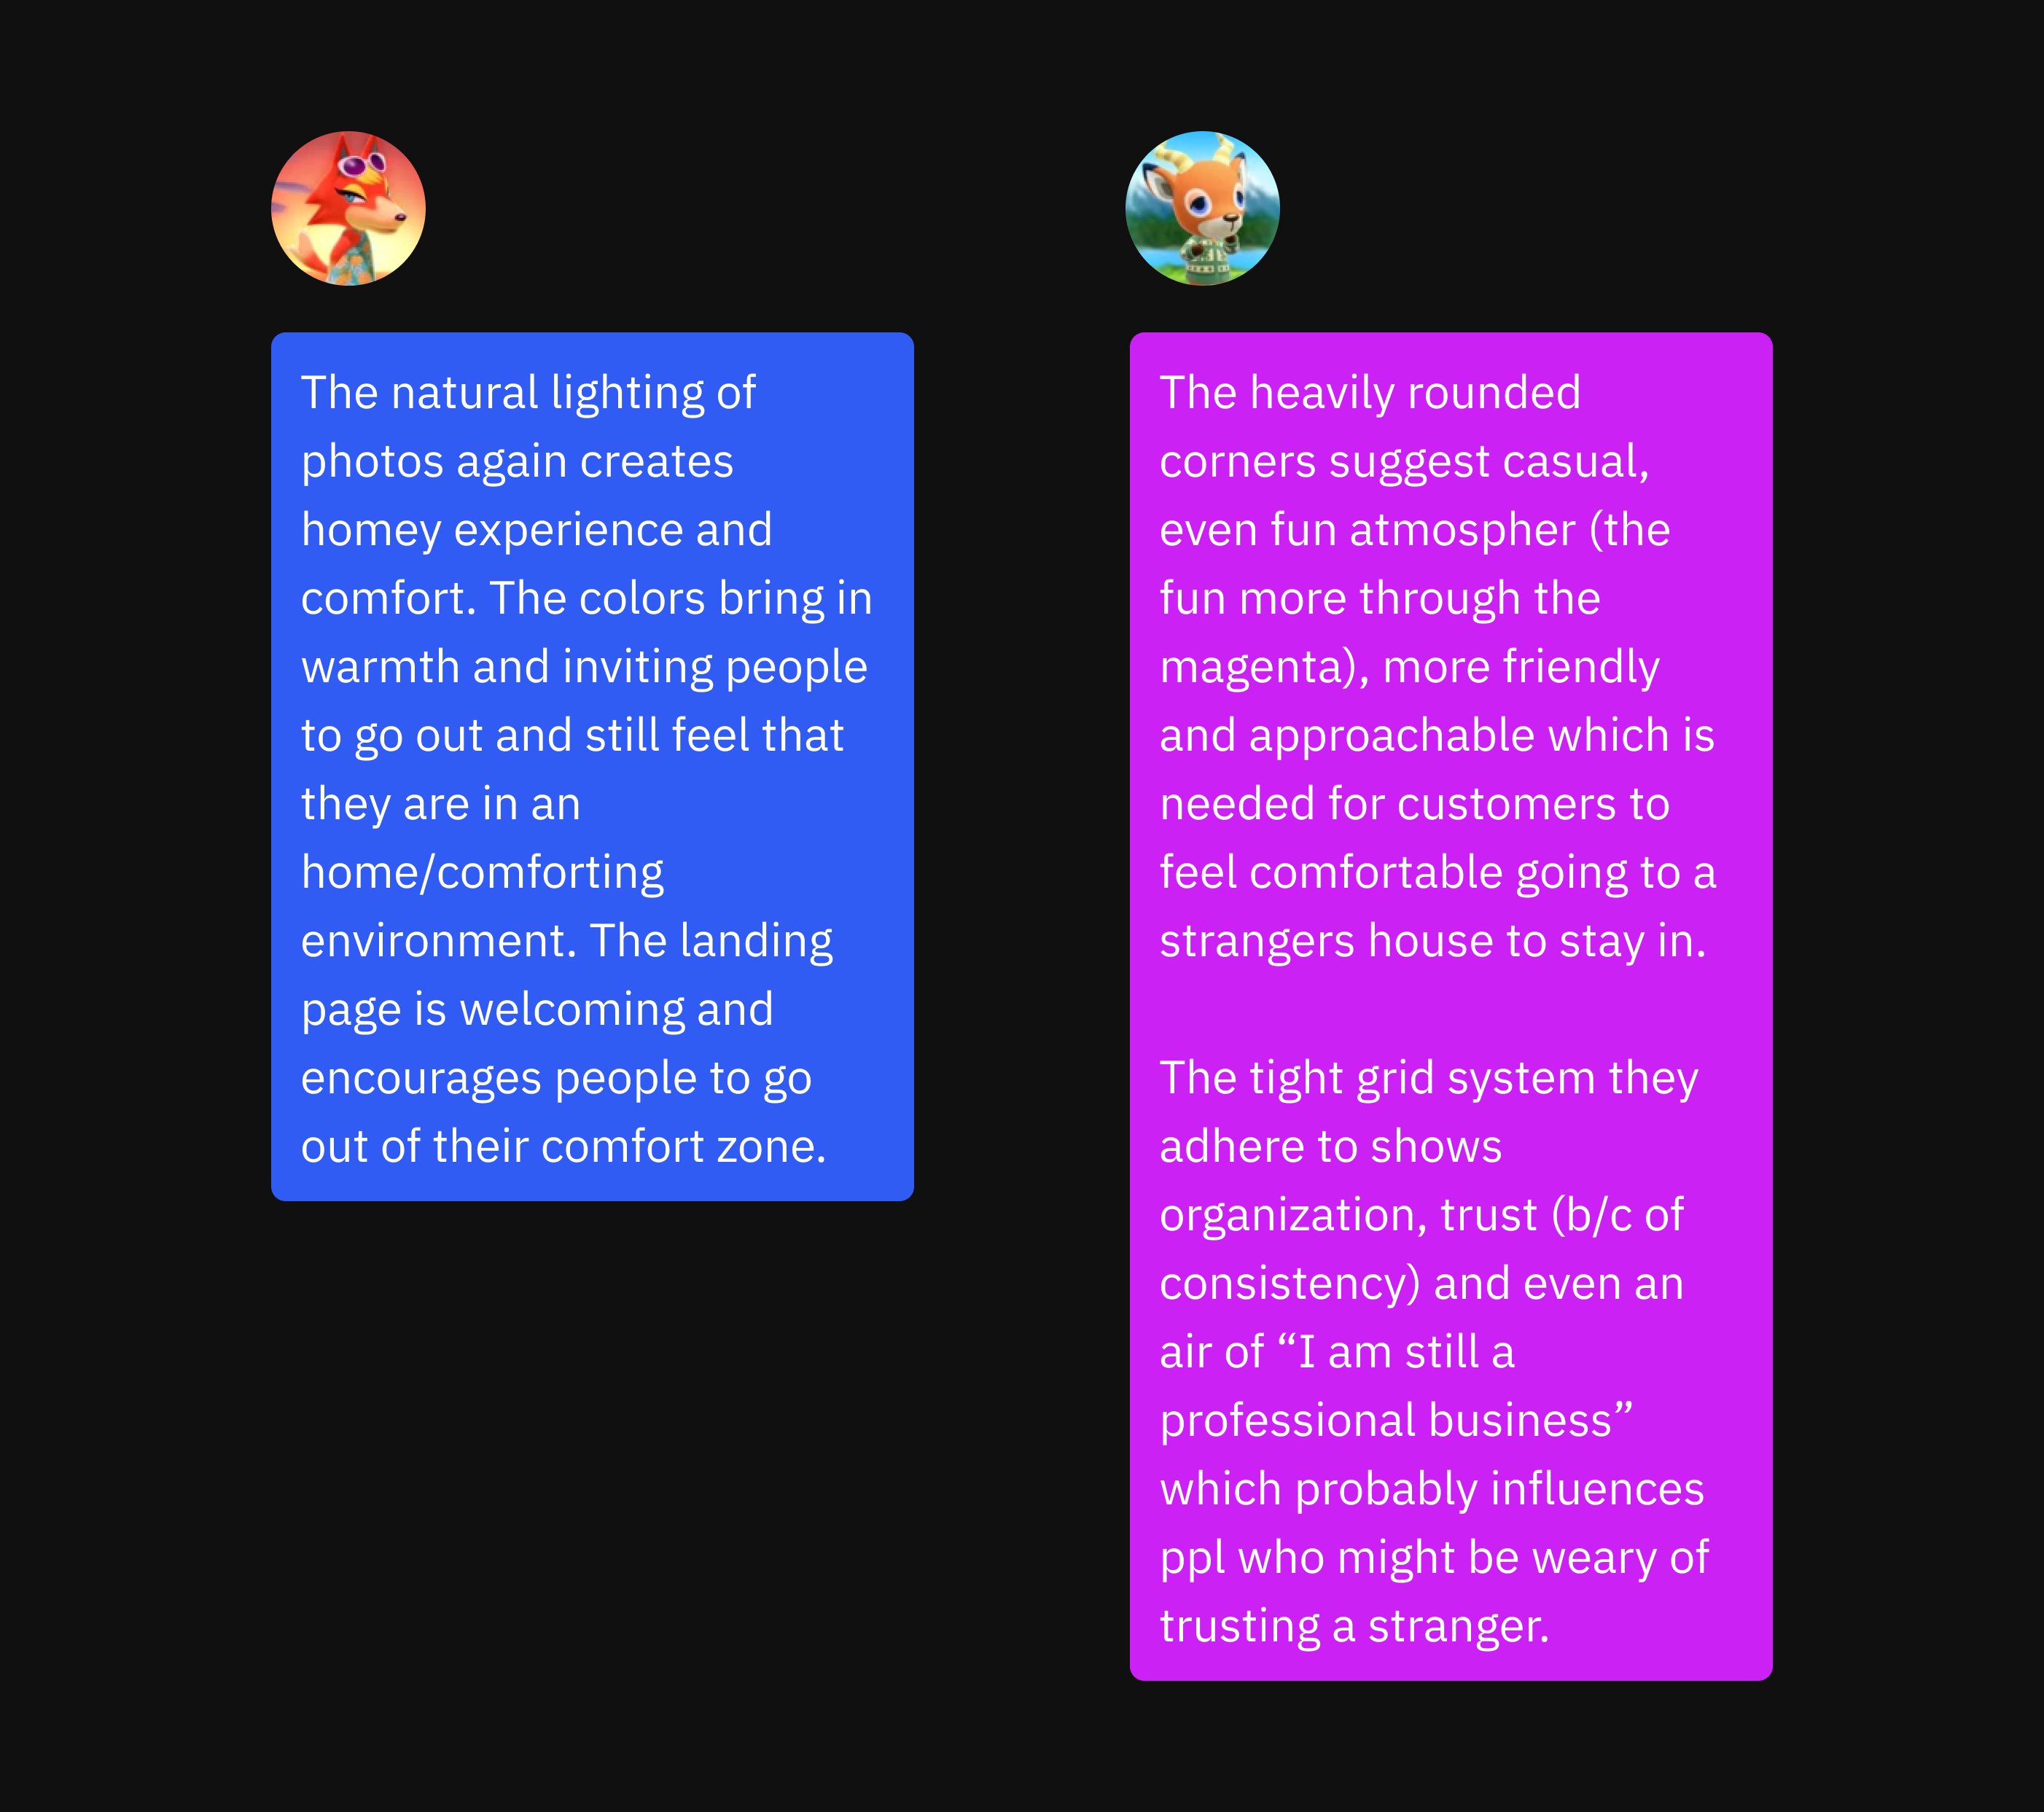
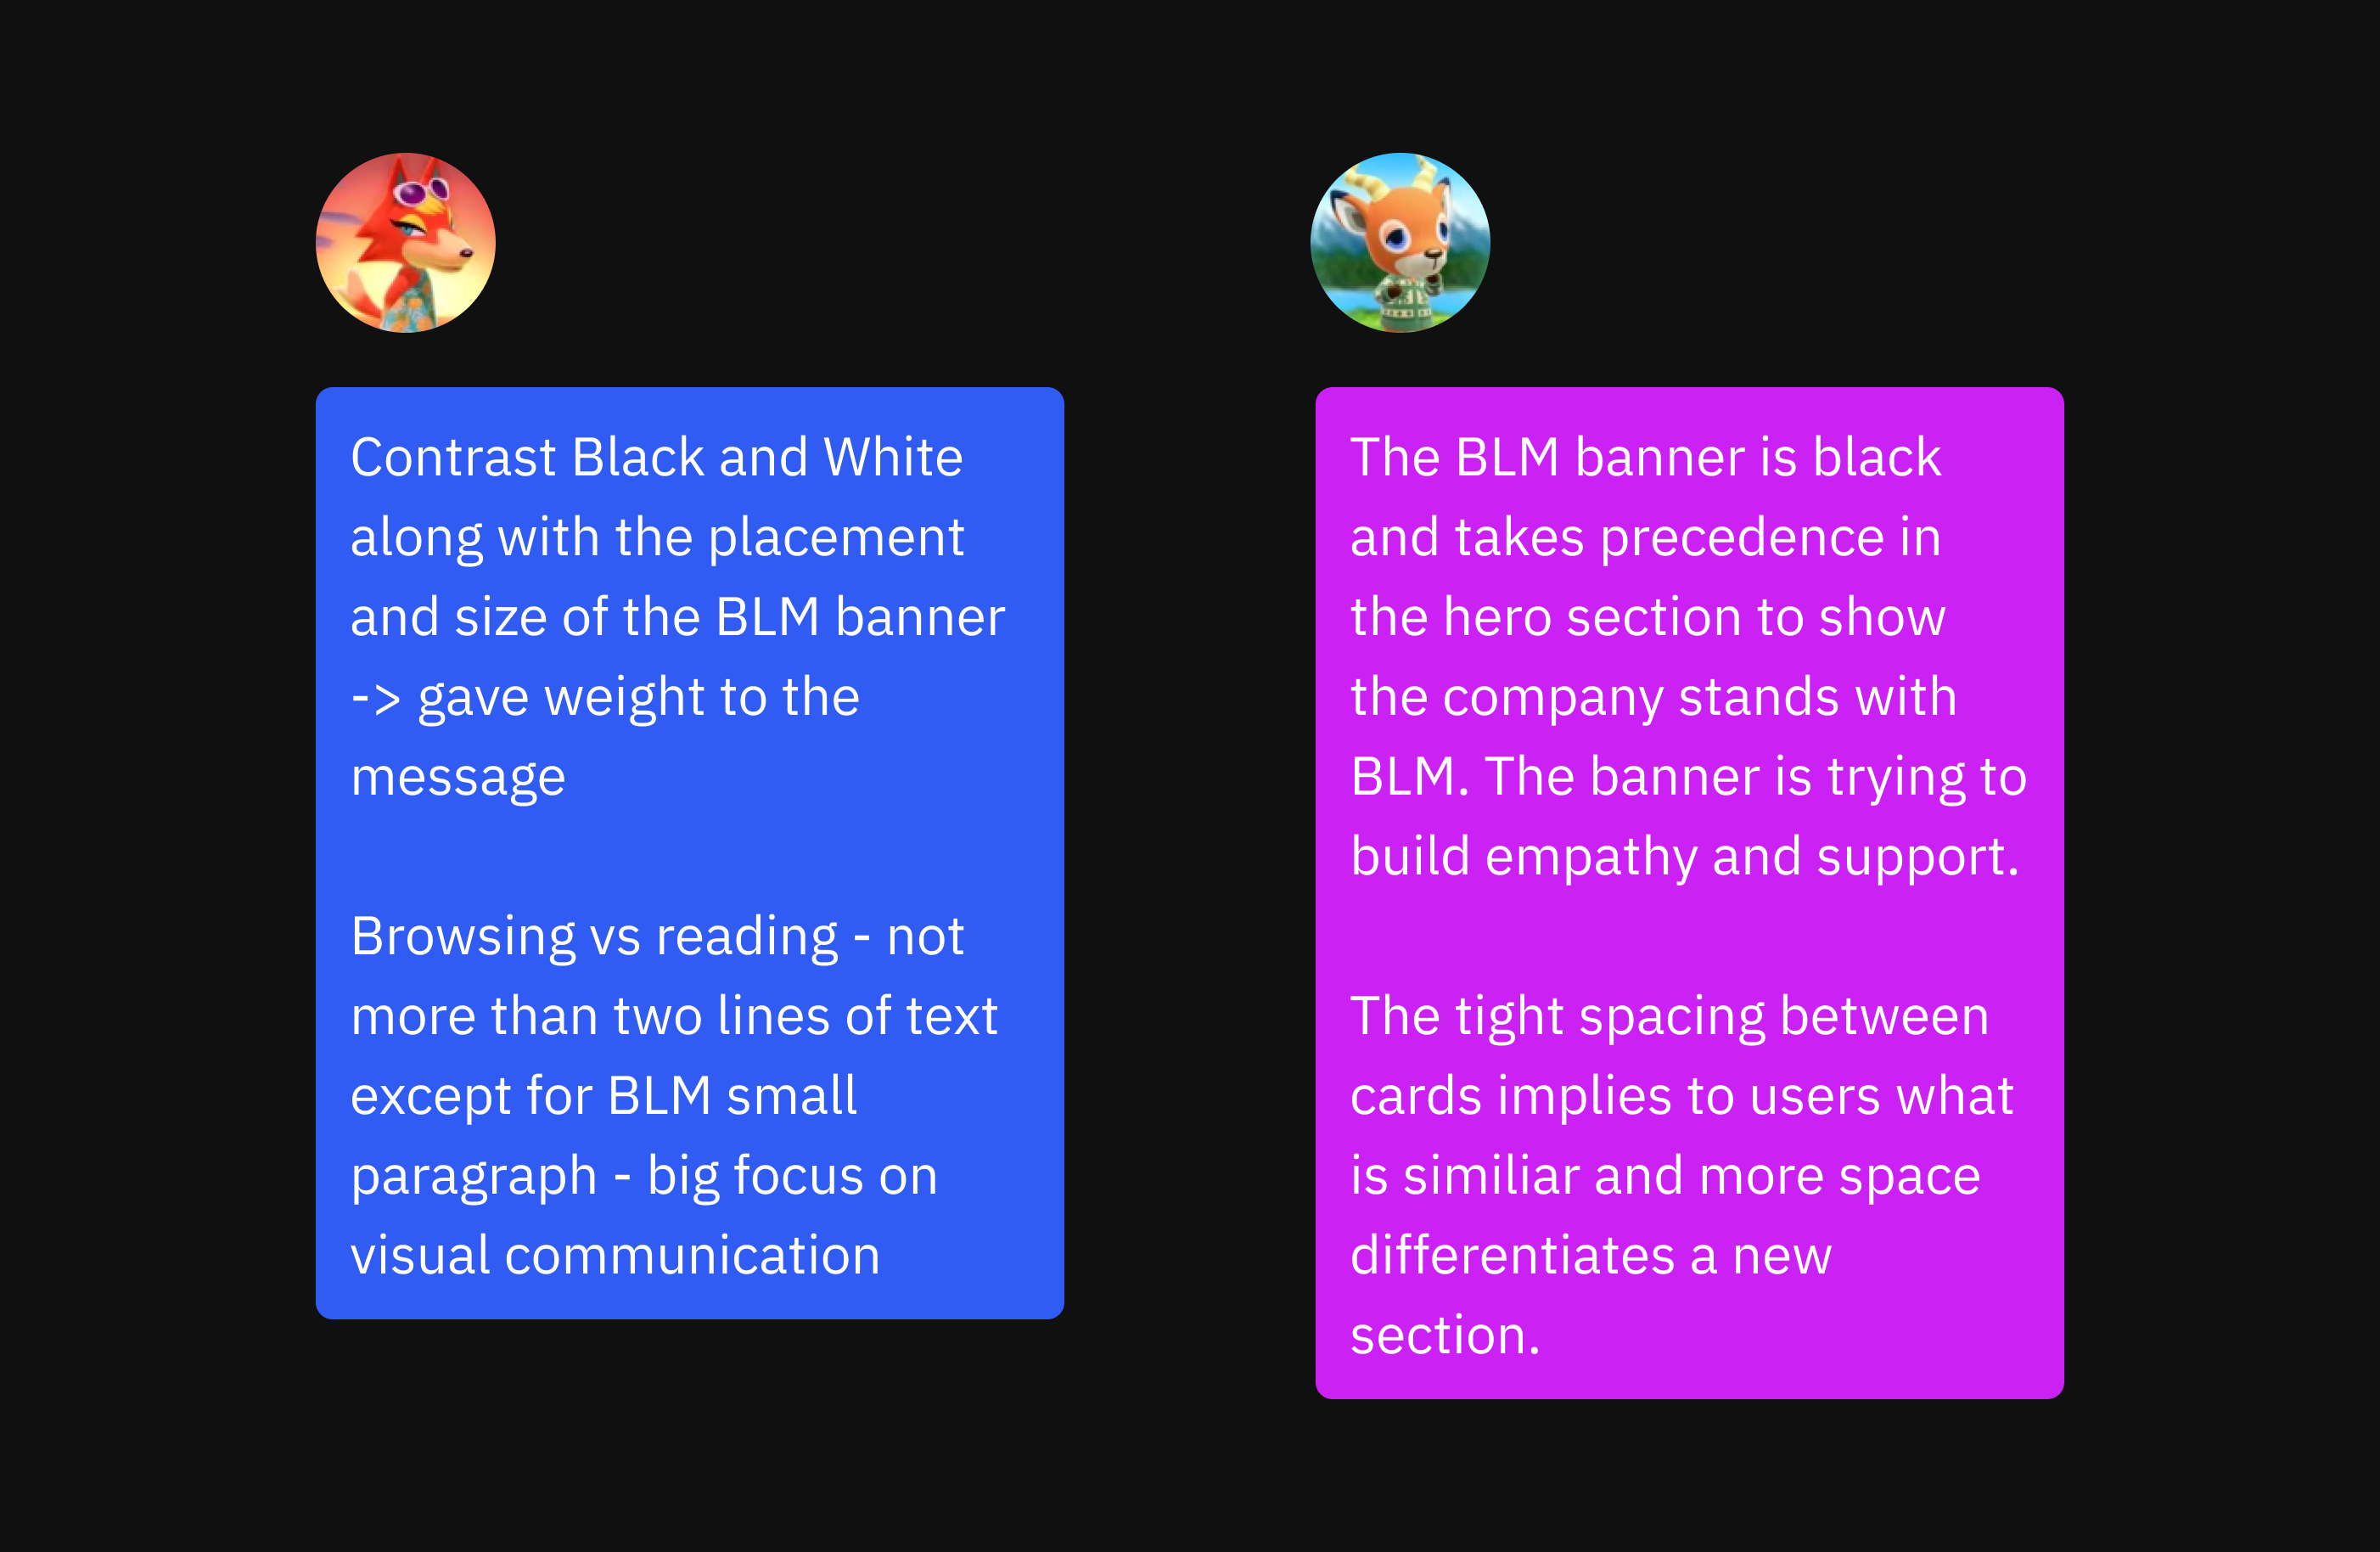
💬 5. Explain the visual design principles.
Based on what you observed, how do these visual design principles help accomplish company and user goals? Why do certain elements stand out more than others? How do design patterns help a user navigate the page? How do the spacing and alignment communicate importance?
I love how students all interpreted the design really differently. These are all the student responses laid out side by side!
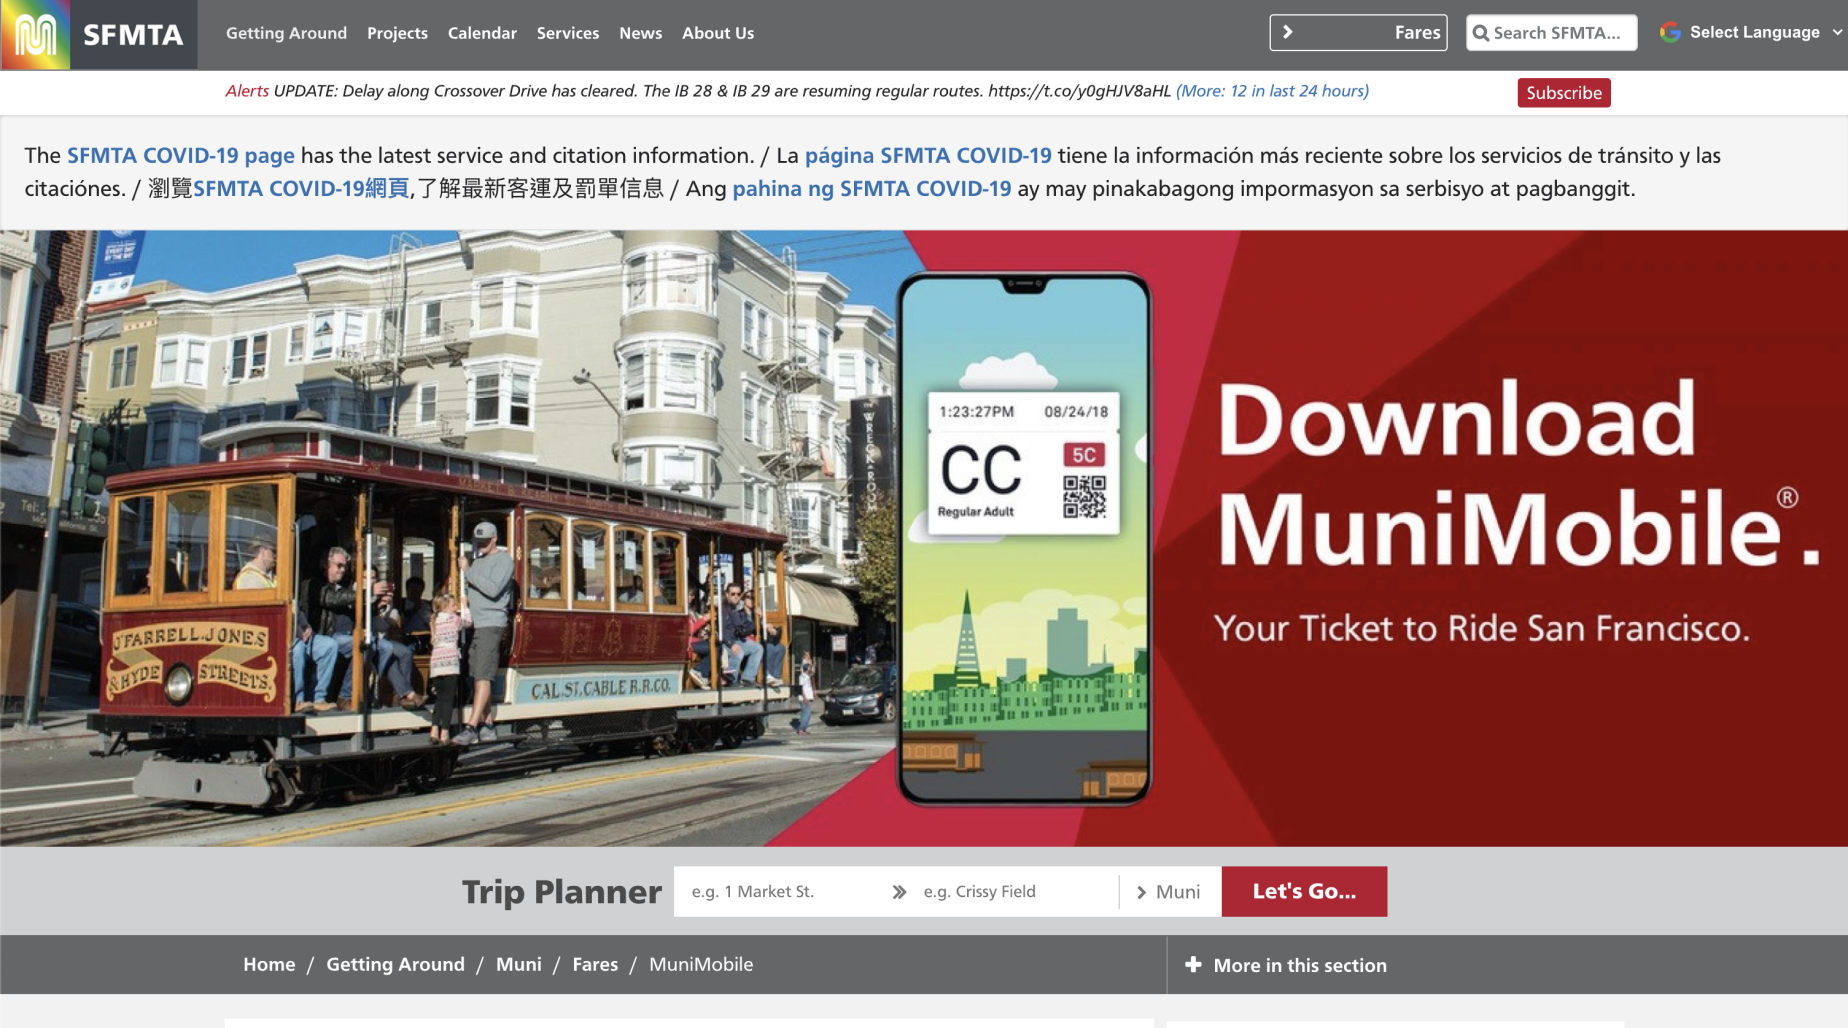
We did the same exercise for an app that was a little less pretty 😱. Seriously, you can defend anything.
The framework for defending a design is similar to analyzing an art piece. I don't love every piece of art I see, but it's always possible to analyze the artist's intentions. You look at all the details in the design and think about how they all connect thematically. Over time, you'll develop intuition based upon your past experiences.
🖍️ Making design decisions
Just because you can defend something does not mean it's necessarily the best decision. The most common question I get from students is: "how do I know what is good?" To follow up the defending your visual design work class, I taught two lessons on making visual design decisions divided into two parts: one on typography and one on color.
For the typography lesson, I put together a series of type choices. I had students write pros and cons for each type combination. What do you think works well, and why? What do you think doesn't work so well, and why?
Making type decisions can be intimidating, and I think making a simple pros and cons list helps designers think through why each system might be more effective. One of the most important things to realize is that there will never be a perfect decision. Every decision is flawed, but some are less flawed than others 😊. We did the same exercise for just a simple line of text too! This one generated more polarizing opinions.
For me, color is one of the most challenging visual design elements to teach because it feels like an art. I've always depended on my eye to change color palettes and make decisions, which is 0% helpful when someone is learning. I realized I would frequently help students "fix" their color palette by arbitrarily moving the color picker around. In this follow up lesson, I wanted to explore how we choose and match color. For this first exercise, I wanted students to find a color that matched this shade of red 🍒.

Based on student responses, I helped them adjust the color combinations to be more complementary. To find a color that "matches," it's important to make sure the second color has the same level of brightness. What themes do you observe from the color swatches above 🤔?
For the following exercise, I just wanted students to find a shade of blue that is inviting. After we all selected a blue, I had students vote on which blue they felt would be best for a social media product. What do you notice about the colors with the most votes 🤔?
The blues with the most votes were all slightly darker and brighter. These blues mirror what you see used in most apps on your phone. We also did a couple exercises to fix color palettes! I purposely picked color combinations that were a bit tricky .
I loved these lessons because I barely did any lecturing. We were all learning together and from each other. We developed themes and understandings together 😊.
🤔 How do you learn to explain the why?
Explaining the why is crucial to becoming a stronger designer and educator. How did you learn to give reasons for your design decisions?
- How do you explain your visual design process?
- How often do you come up with the reason "why" after you create a design?
- How do you balance intuition with reason in your design work?
I'm curious which type combination you prefer in this Figma file 😊.