This blog post is a deep dive into my process in designing my new course "Prototyping with Cursor." The course is live and on sale this week only. You can enroll now.
Why did you choose to teach Cursor? The short answer is because of this exact feeling:

Yes, this screenshot is a real message I received from a student after completing the first Prototyping with Cursor project last night. He built and deployed ✨ this website ✨ in an hour! You should definitely check out the desktop version to experience the very cool Three.js effects live.
The long answer
If you're unfamiliar, Cursor is currently the most popular AI-powered code editor. I love it because it strikes a balance between using AI and maintaining fine-grain control over your work.
Last year, I began using Cursor to help build several projects:
- Define your design aesthetic
- Reveal your design destiny
- Rearchitecting this blog after the I used was deprecated (🪦 rip Gatsby.js)
Working with Cursor using the claude-3.5-sonnet model, I was surprised that it could be creative. It reminded me of when I would put stuff in the Neopets CSS Editor and cross my fingers for cool results 🤞.

Earlier this year, when Cursor released Agent, I had an idea. What if more designers could move beyond WYSWIG interfaces (Figma, Framer, Adobe Creative Suite, etc.) and start prototyping directly with code?
My biggest question became: Is it possible to teach anyone how to use Cursor?
Defining bumper rails
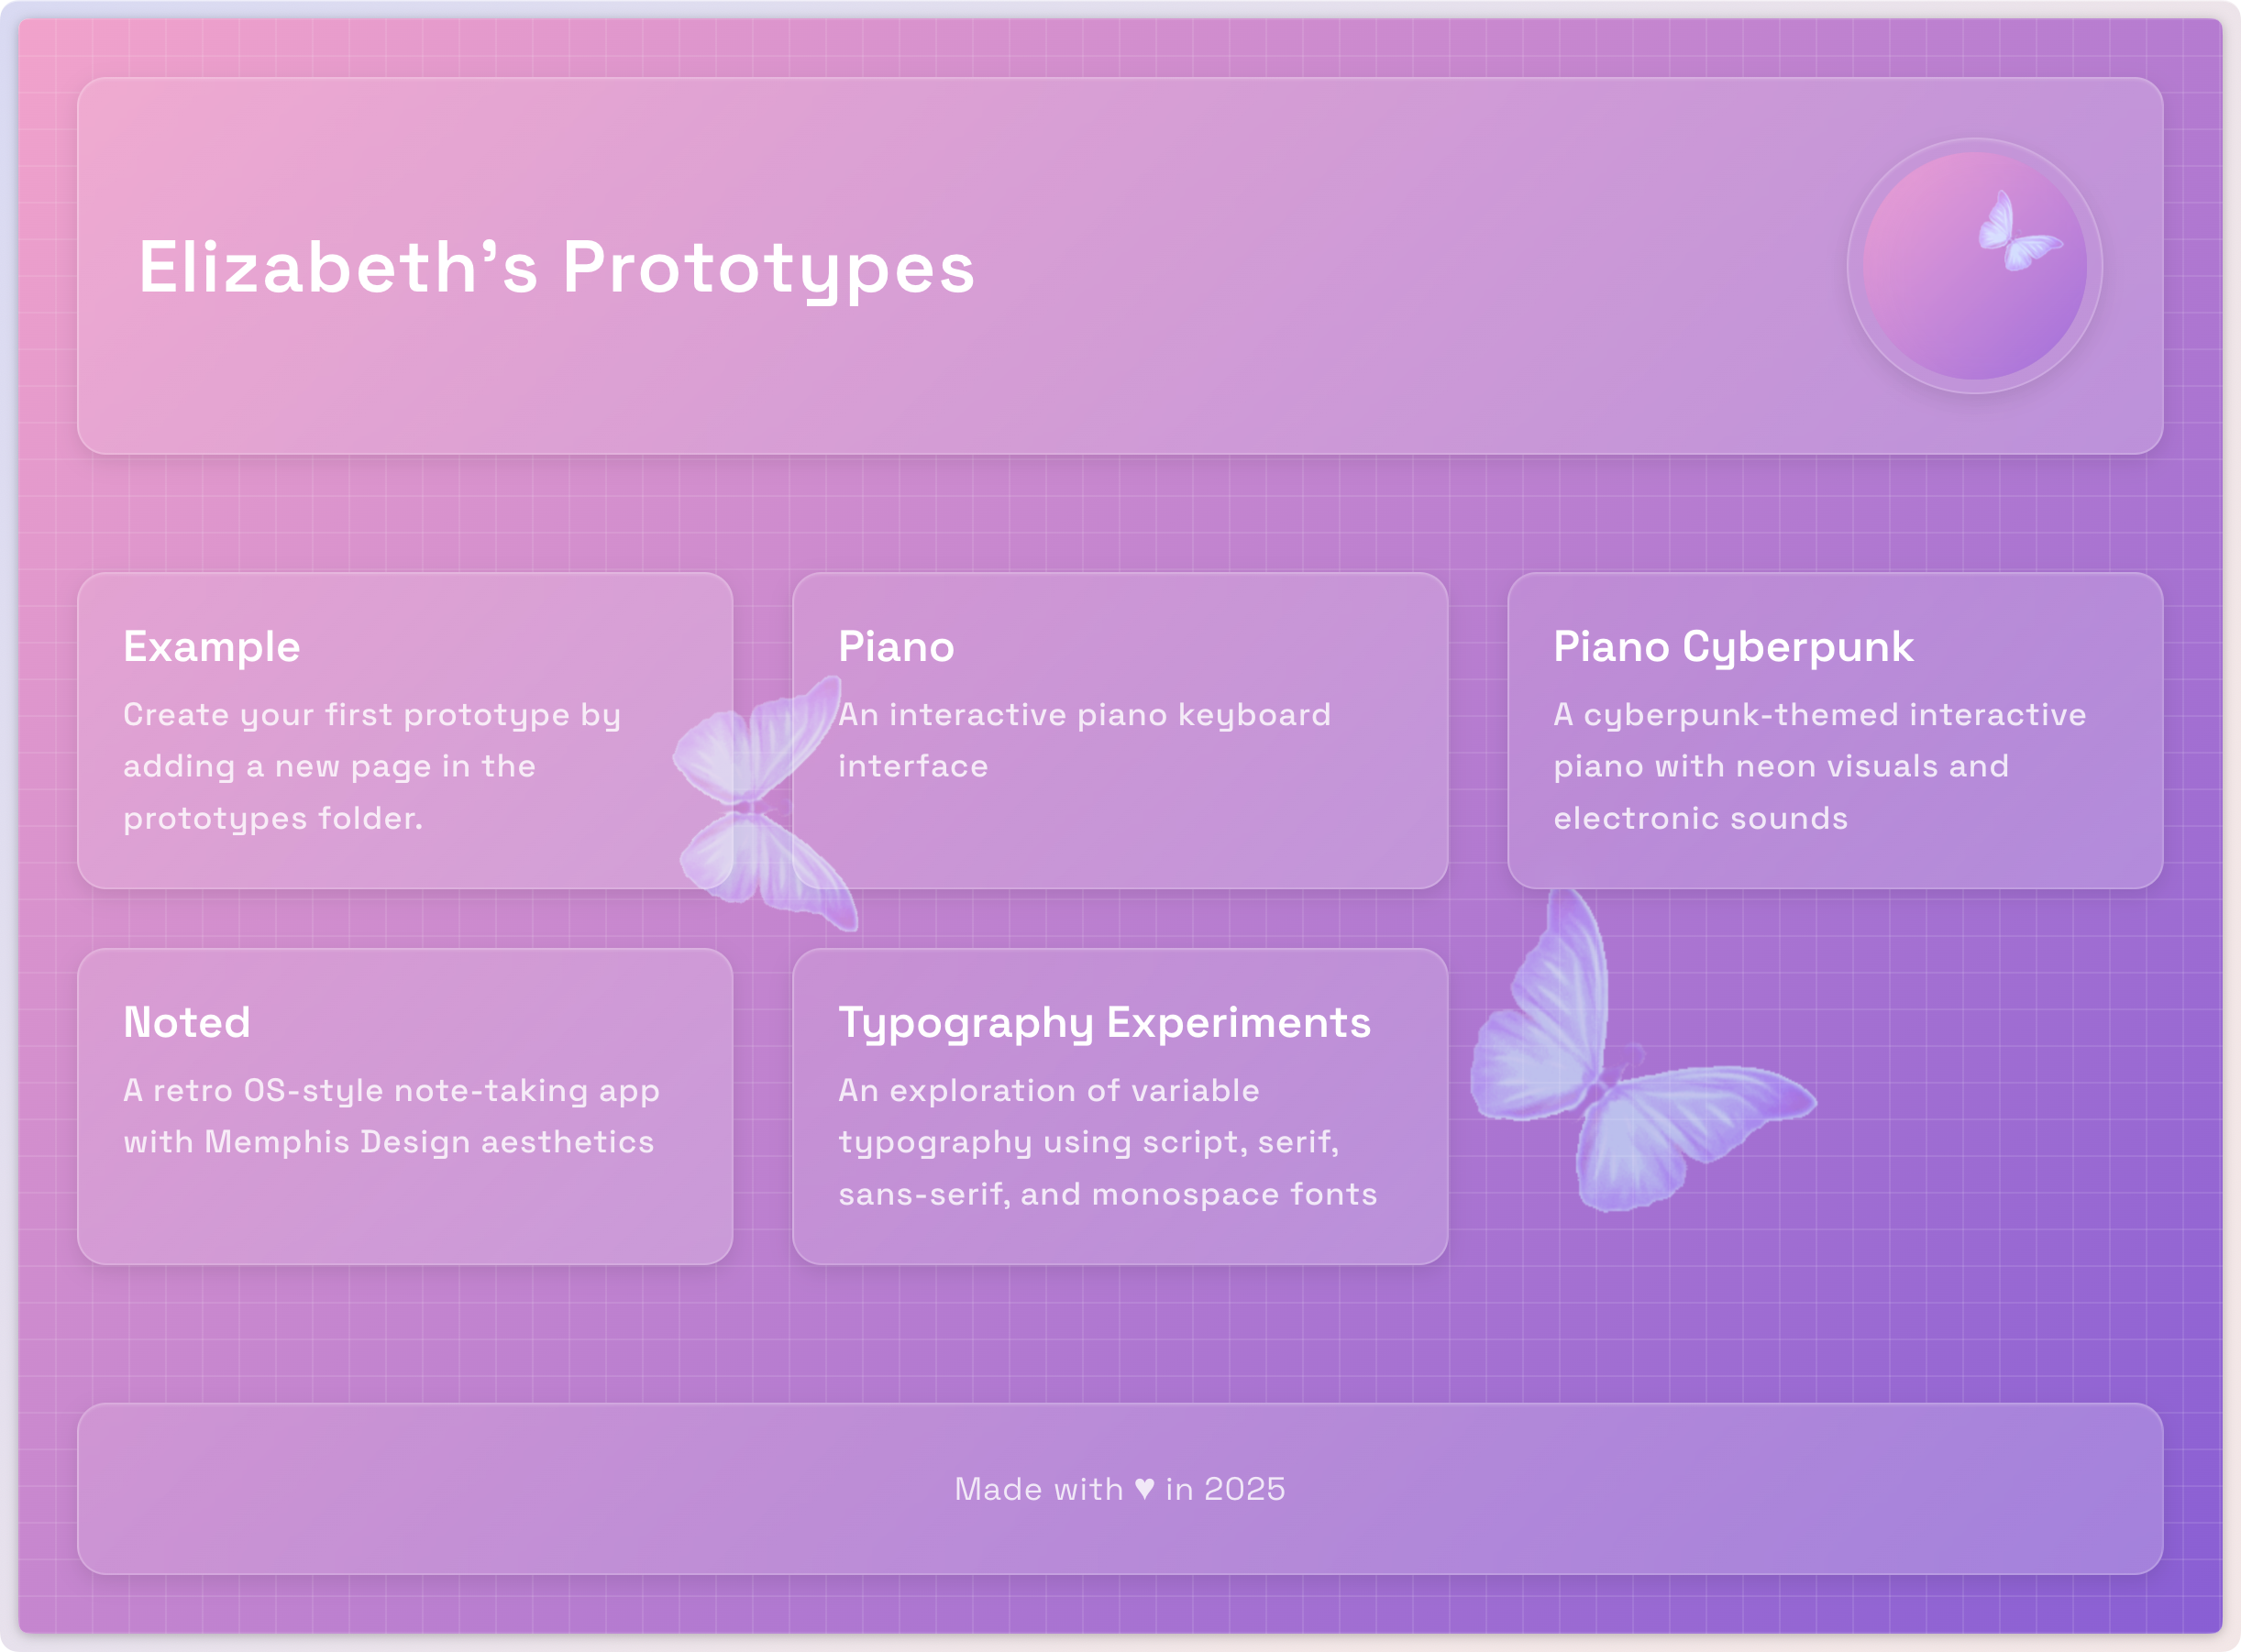
The most challenging part for coding beginners is typically the setup process. When designing the course, I wanted to create a playground where students could see prototypes come alive instantly without being intimidated by the set up. Every student begins the course with my starter repository.
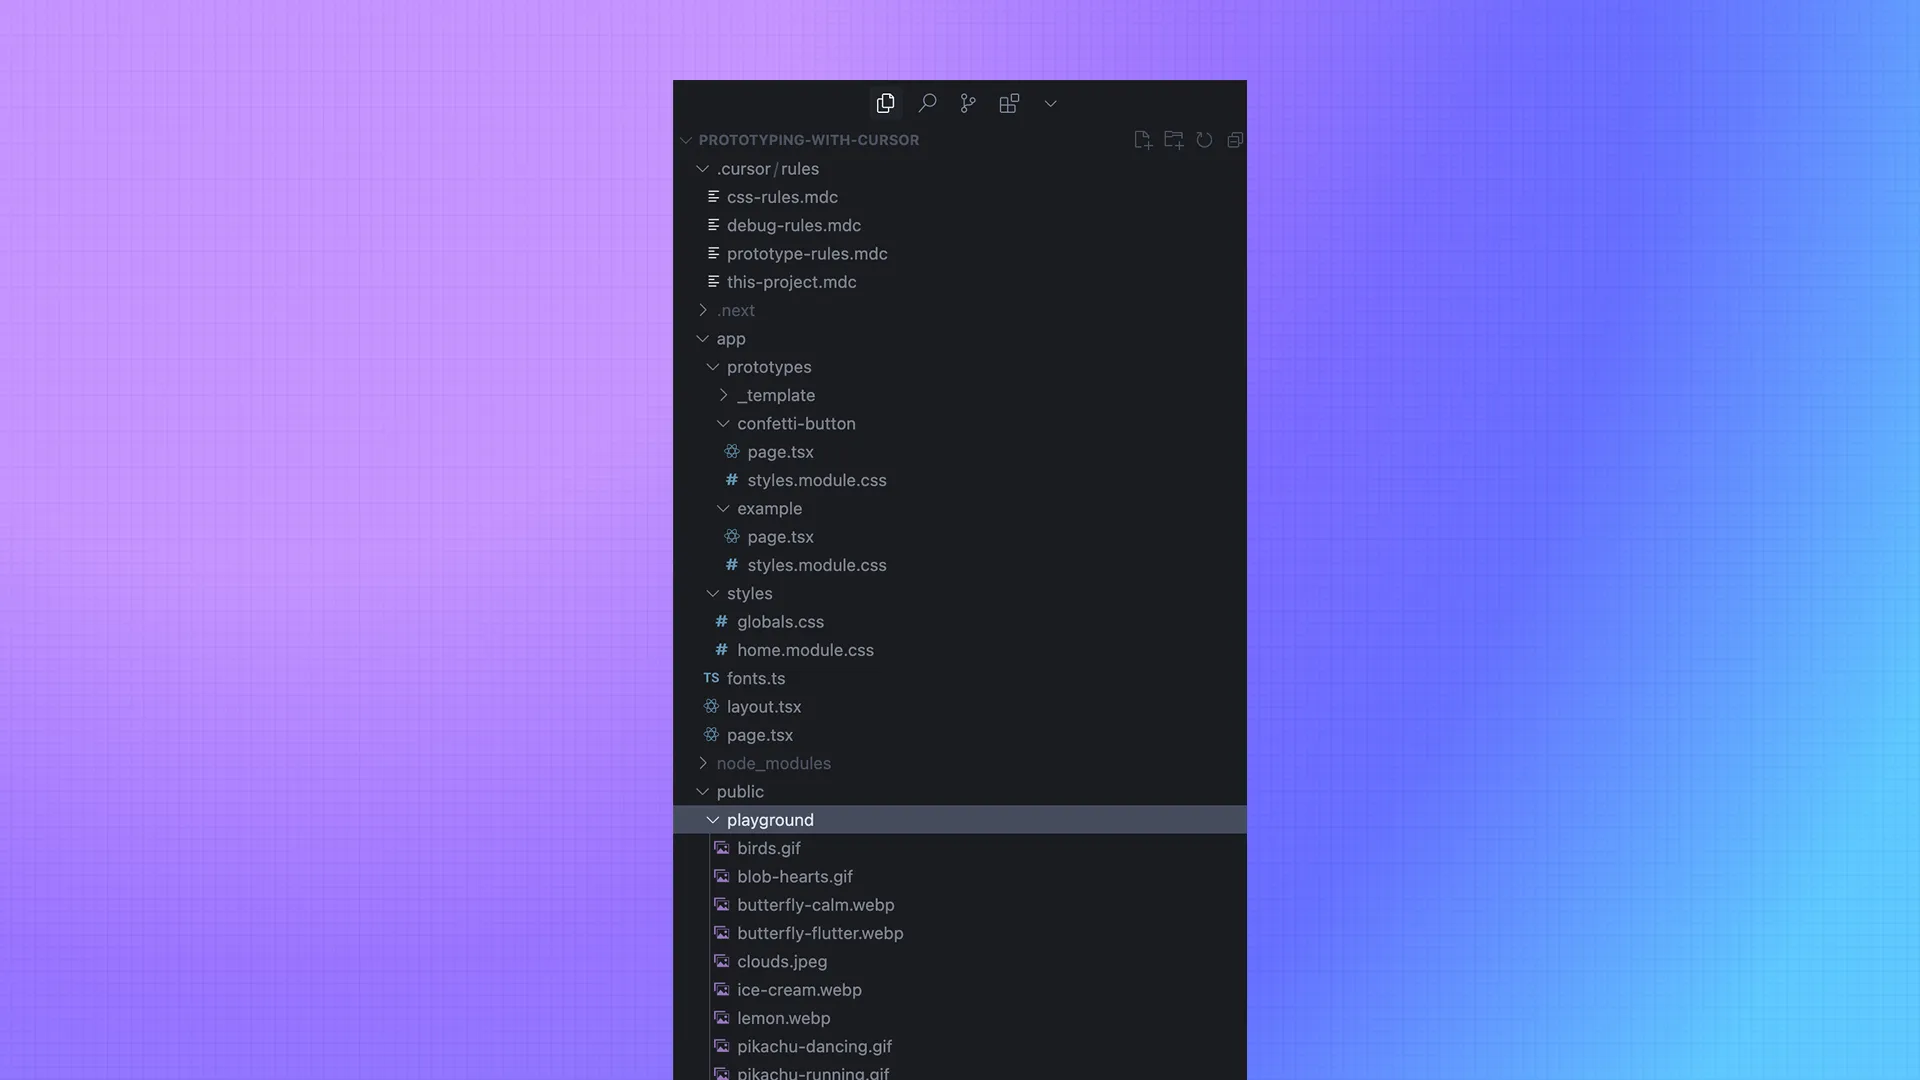
The idea is that every student develops a personal home for all their little prototypes. Obviously this is heavily inspired by Angelfire and Geocities days. (Can you tell I'm nostalgic for the early internet 🥺?)
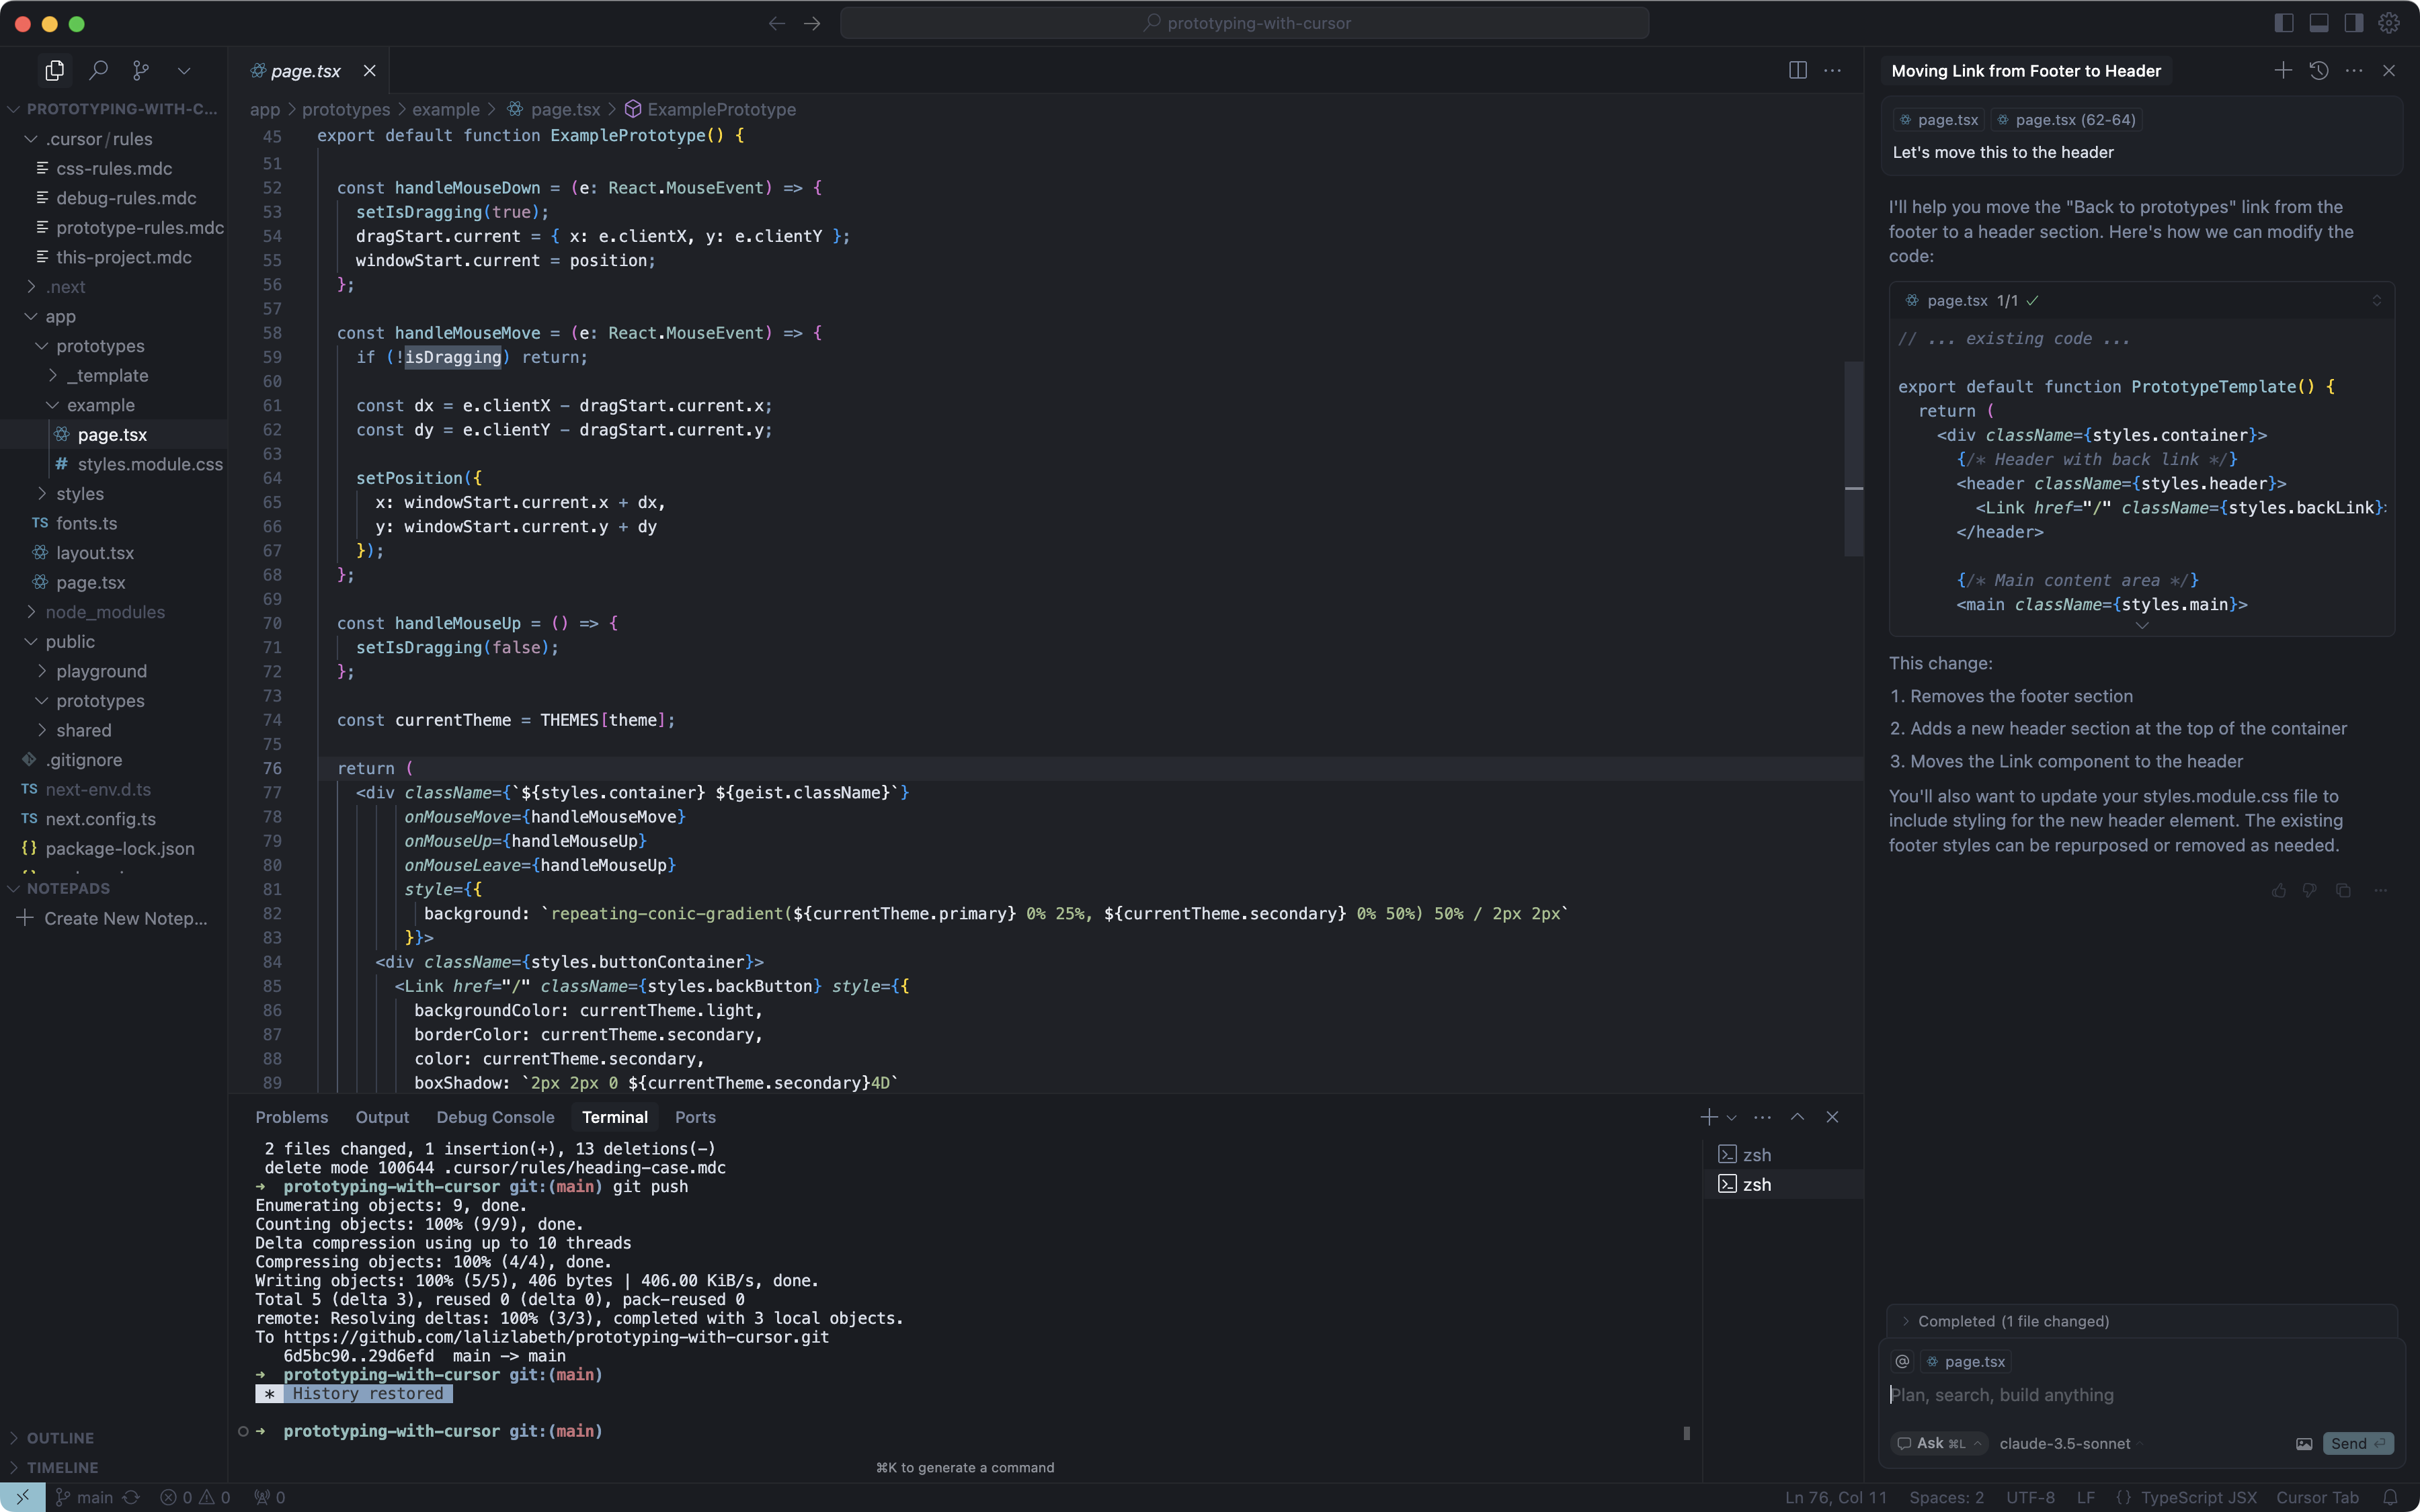
To create some bumpers, I set up some Cursor Project Rules that assist students through their journey. For example, there's a simple rule that completes this step-by-step process every time someone prompts Agent to create a new prototype.
When I ask you to...
- Create a new prototype
- Make a new prototype
- Create prototype
- Make prototype

Or any other language similar to this. Do the following steps:

1. If I don't tell you what the prototype will be, ask me to name the prototype before proceeding with creating the prototype.
2. Always copy the `_template` directory in the `app/prototypes` directory.
3. Create/modify the prototype files (page.tsx, styles.module.css, etc.)
4. Install any necessary dependencies
5. Add the prototype to the homepage's prototypes array
6. Test that both the prototype and homepage links work
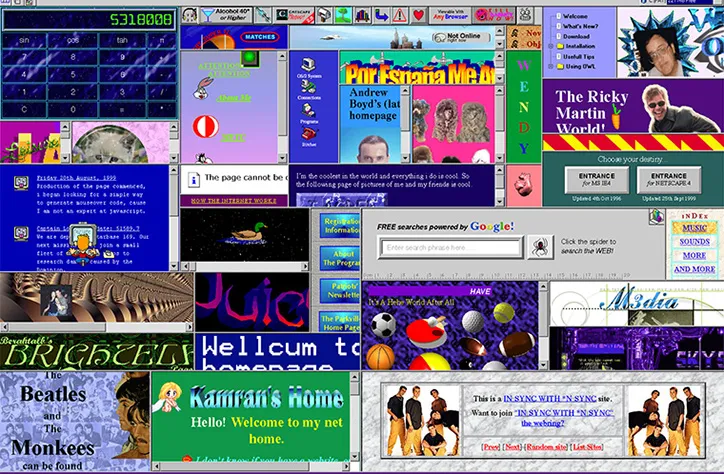
Their first project is transforming this objectively bland homepage…
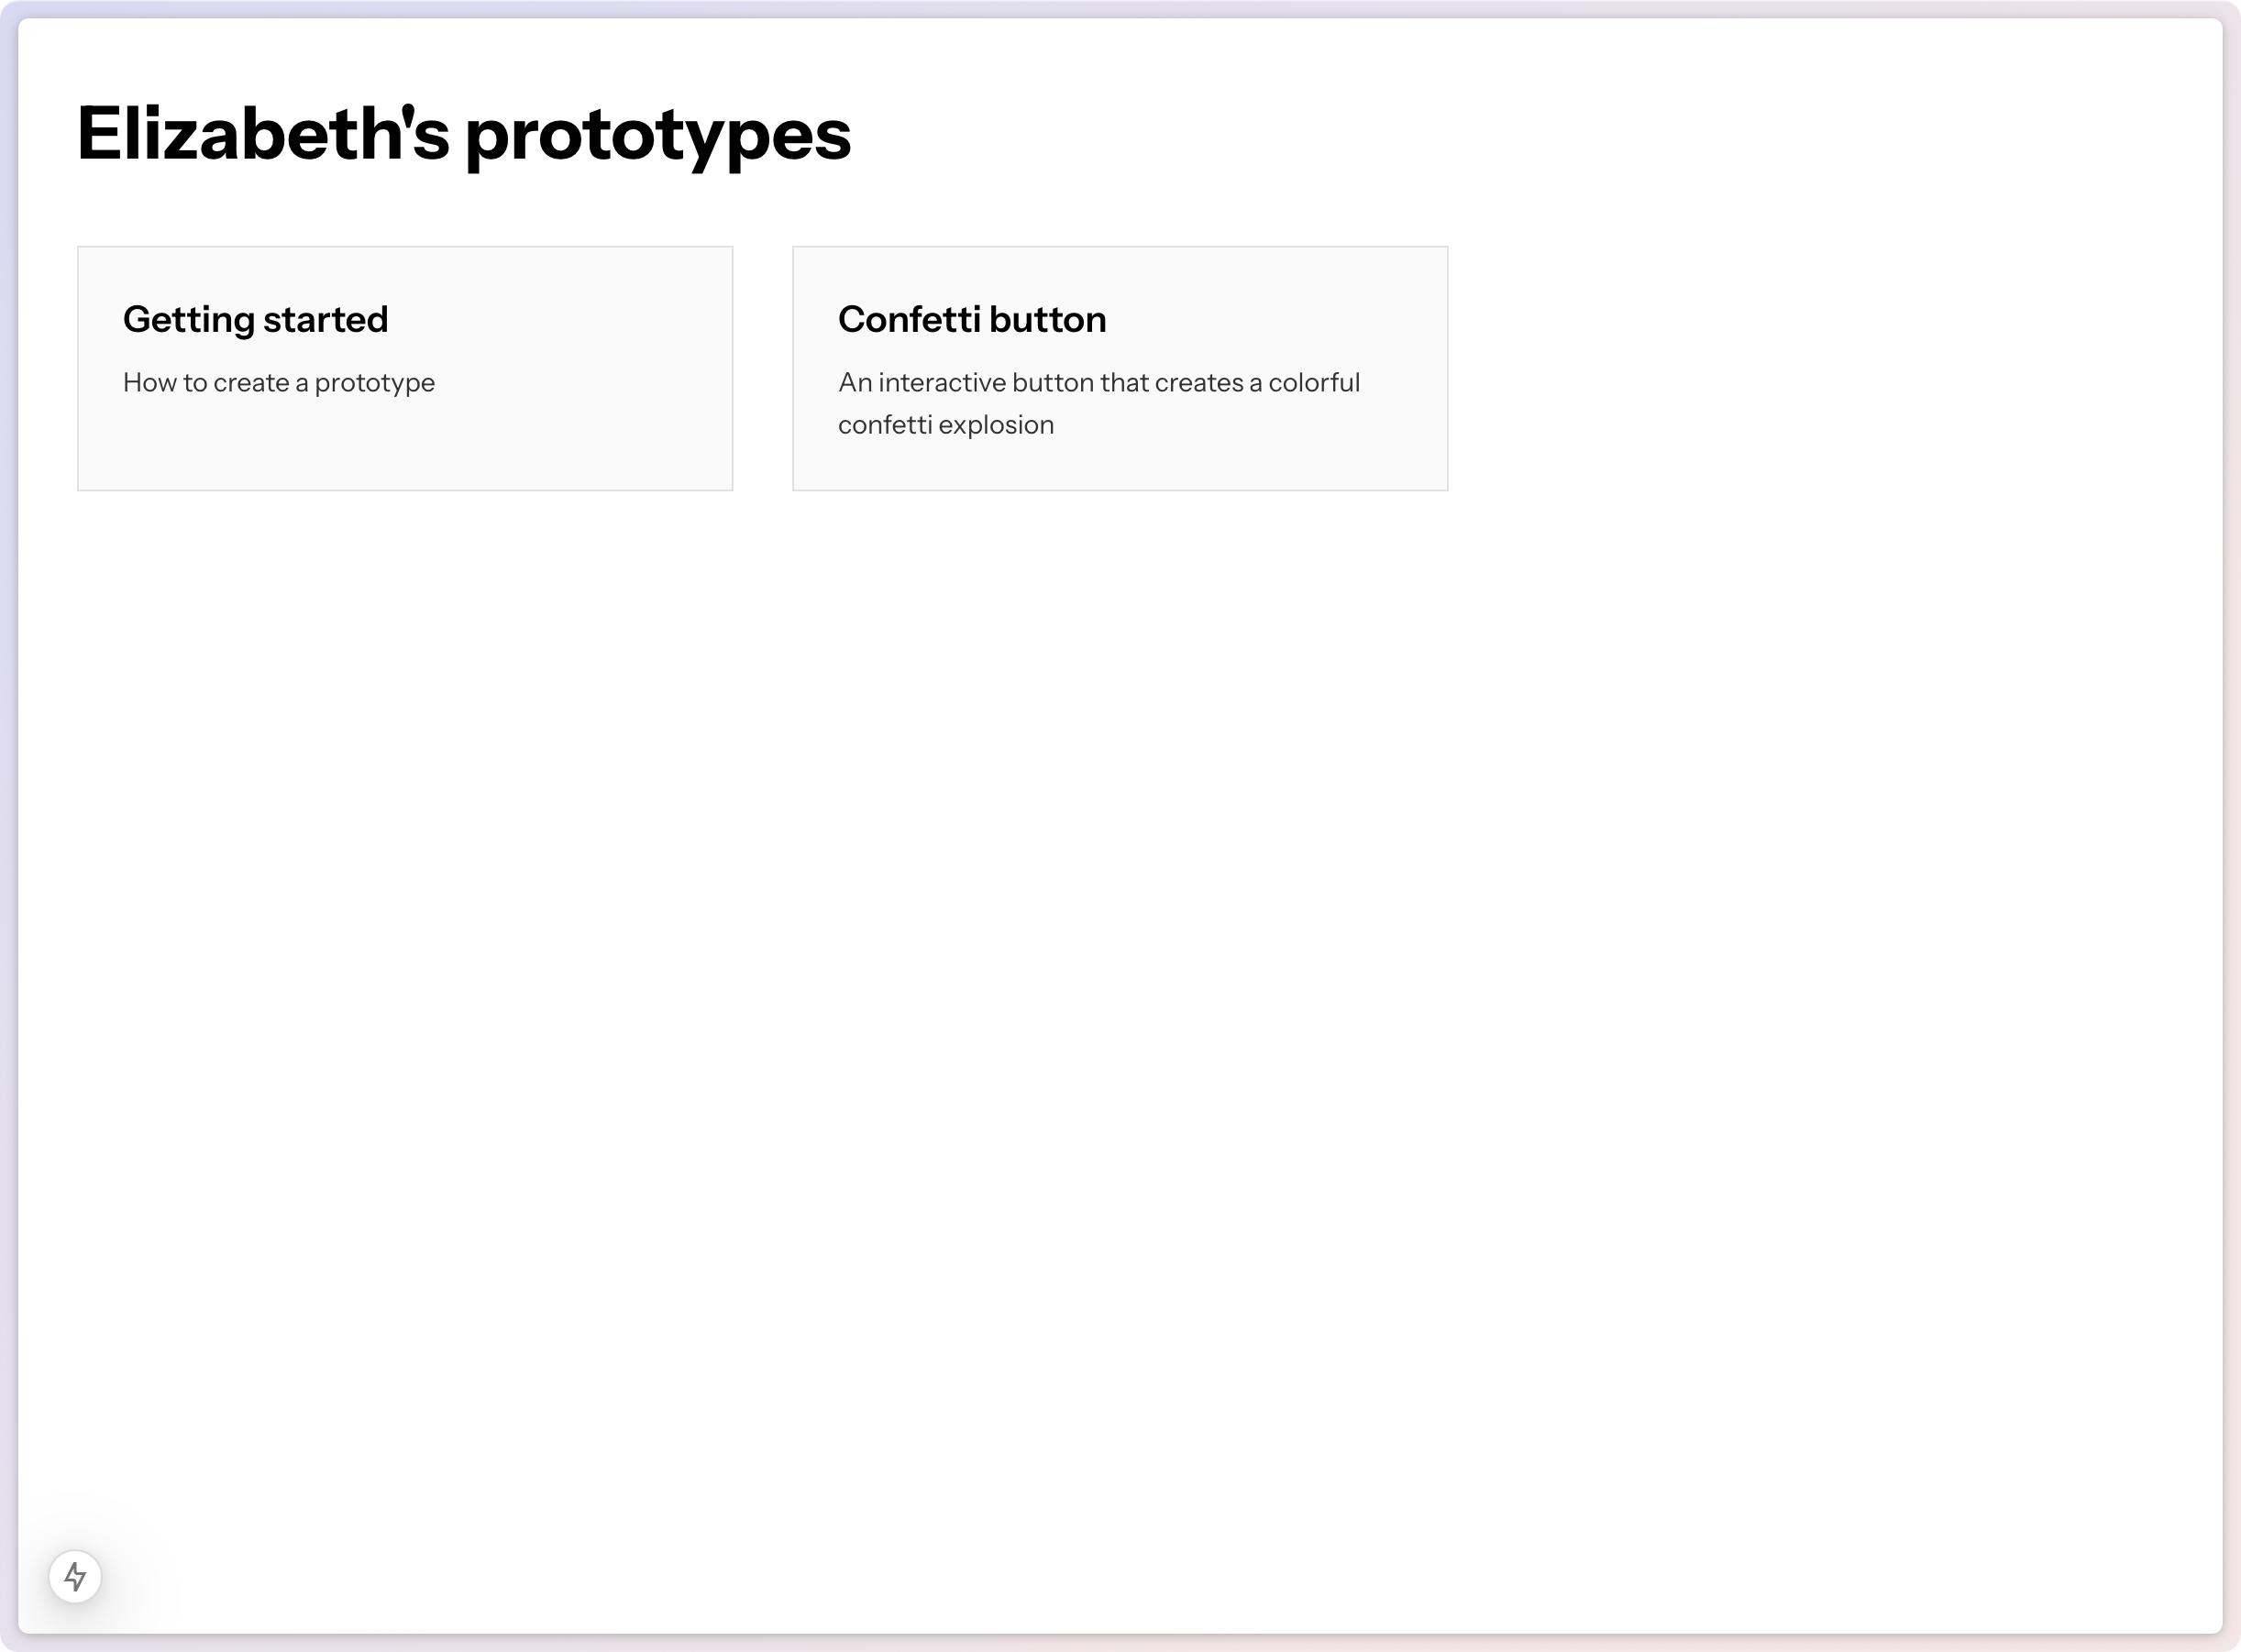
…into something that feels like their own 💖.
It's been inspiring to watch the students each explore their individuality through their personal homepages. I can envision this format translating to design teams too! Imagine a shared repository with common components where each designer maintains their own prototype library to share with teammates.
Testing grounds

Before launching the self-paced version, I ran three live versions of the course to test the course material and learn from students. I was honestly pretty nervous about this one! Despite my computer science background, I was worried about facing questions I might not know the answer to 🥺.
Close friends only
I invited two friends: one with computer science experience and another who had never touched the command line. I wanted to answer two questions:
- Can I get students set up in Cursor and building prototypes in a few hours? Yes, but the set up can take a long time! Setting up dev tools is definitely... a process. For example, it can be scary to type into Terminal for the first time: What do you mean I'm typing my password and I can't see any feedback? Walking my friend through each step helped me document a self-paced approach for anyone to configure their dev environment.
- Can the course support different experience levels? Yes! The open-ended projects allowed me to provide more support to beginners while advanced students could explore creative prompts independently.
Online workshop
I opened up the course to a small, live workshop with 12 students. My main focus in this workshop was to observe the students working live. What are common problems and bugs do students run into? When they run into a problem, am I well equipped to fix them?
Through my observations, I noticed two things:
- Debugging is the most important skill. How do I teach students how to get unstuck when I might not always have the answer? I had a flashback to my time as a TA in college when I would send students StackOverflow links to answer 80% of their questions 🤭.
- Most students were not treating Cursor like a code editor. When a few students screen shared, I noticed that instead of code being the center focus, the terminal running the server dominated their screen. This means that students weren't even opening the code! I'm not sure what to make of this observation yet, but as someone who codes, it was shocking to see a code editor in this orientation!
Notion design team workshop
The final workshop was with the Notion design team. Using Cursor to build cool apps is fun, but how can I integrate this with my design team? How can I make it practical for my day-to-day design job?
Teaching this workshop pushed me to find more scalable ways of using Cursor. For example, I figured out how to use a MCP server as a way to help designers bring a design library into code for pixel perfect prototypes.
This is what the Figma file looked like for this design:
Closing thoughts (for now)
Prototyping with tools like Cursor is very new and workflows are changing every day. The final question I'll leave with you all today:
How much do you actually need to understand about code in order to code with tools like Cursor?
I am planning to write more about my experience teaching AI tools to designers and non-developers. If there's anything you're interested in, please let me know 💖
Sign up for Prototyping with Cursor
By the way, to celebrate the launch of the course, Prototyping with Cursor is on sale this week only! Learn more and enroll now.